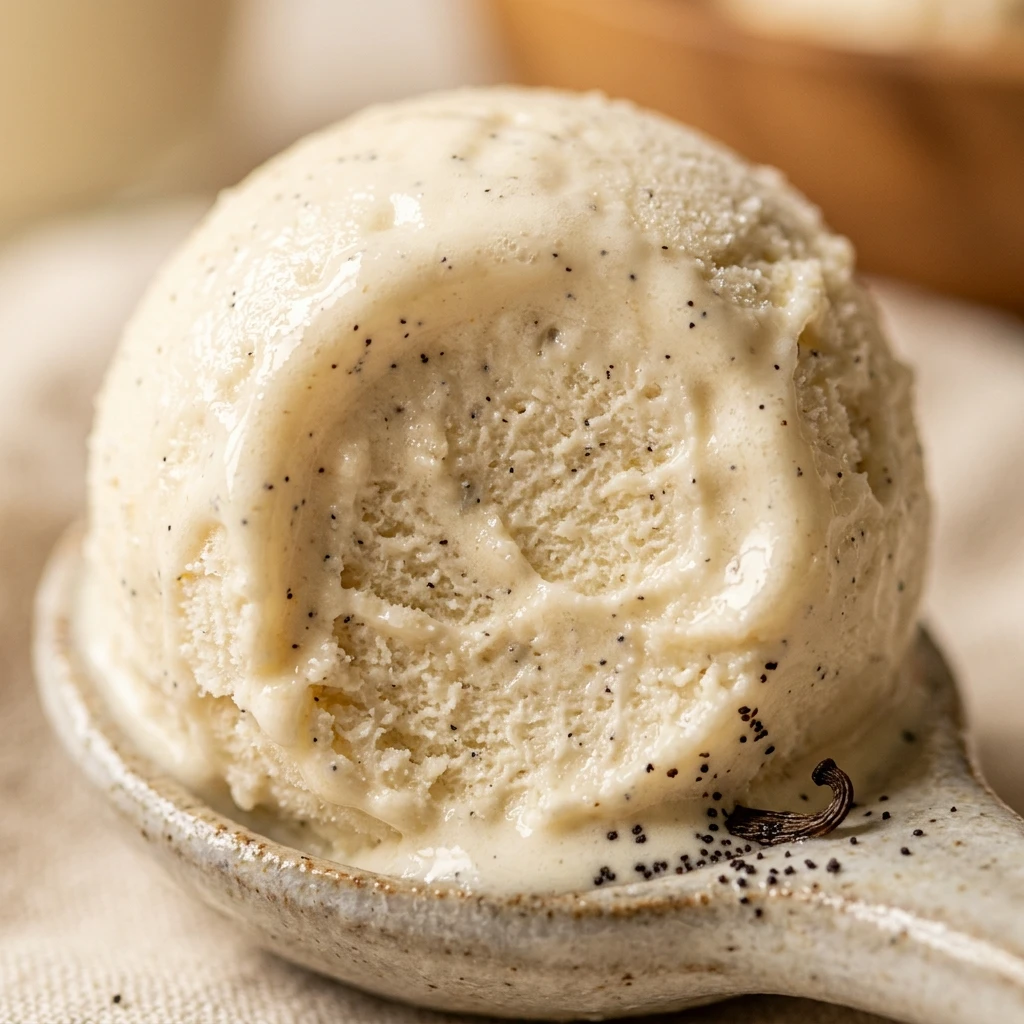

There is nothing quite like the taste of fresh, homemade vanilla ice cream. While store-bought brands are convenient, they often lack the rich, velvety texture and pure flavor of a batch made from scratch. This recipe uses a classic custard base to create a dessert that is incredibly smooth, creamy, and far superior to anything you will find in the freezer aisle.
Making your own ice cream at home is a rewarding experience that allows you to control exactly what goes into your food. By using high-quality cream, fresh eggs, and real vanilla, you transform a simple dessert into a gourmet treat. Whether you are serving it alongside a warm fruit pie or enjoying a scoop on a sugar cone, this vanilla ice cream recipe is a timeless favorite that never fails to impress.
Recipe Information
- Prep Time: 15 minutes
- Cook Time: 10 minutes
- Total Time: 25 minutes (plus 8 hours for chilling and freezing)
- Servings: 8 servings
- Difficulty Level: Medium
Nutrition Information
- Calories per serving: 285 kcal
- Protein: 4g
- Carbohydrates: 22g
- Fat: 20g
- Fiber: 0g
- Sugar: 20g
- Sodium: 55mg
Why Make This vanilla ice cream recipe
This vanilla ice cream recipe is the gold standard of frozen desserts. Unlike “Philadelphia-style” ice cream which uses only cream and sugar, this custard-based version uses egg yolks to create a dense, luxurious mouthfeel. This technique prevents the ice cream from becoming too icy and ensures it stays scoopable even after several days in the freezer.
Another reason to love this recipe is its versatility. Once you master the base, you have a foundation for hundreds of other flavors. It is also free from the stabilizers, gums, and artificial flavorings found in commercial tubs. You will taste the difference that real, simple ingredients make in every single bite.
How to Make vanilla ice cream recipe
Preparing a custard-based ice cream requires a bit of patience and attention to detail, but the process is very straightforward once you understand the steps. You will start by heating the dairy, tempering the eggs to ensure a smooth texture, and then chilling the base thoroughly before it goes into your ice cream maker.
Ingredients
- 2 cups heavy cream
- 1 cup whole milk
- 3/4 cup granulated sugar
- 1 tablespoon high-quality vanilla extract (or one vanilla bean)
- 5 large egg yolks
- 1/4 teaspoon salt
Directions
Step 1: Warm the Dairy
In a medium saucepan over medium heat, combine the heavy cream, whole milk, sugar, and salt. Stir the mixture occasionally to dissolve the sugar. Heat until the liquid is steaming and small bubbles form around the edges, but do not let it reach a full rolling boil.
Step 2: Temper the Egg Yolks
While the dairy is heating, whisk the egg yolks in a medium bowl until they are smooth. Once the cream mixture is hot, slowly ladle about half a cup of the hot liquid into the egg yolks while whisking constantly. This “tempering” process gradually warms the eggs so they don’t scramble when added to the pot.
Step 3: Cook the Custard
Slowly pour the tempered egg mixture back into the saucepan with the remaining cream. Continue to cook over medium-low heat, stirring constantly with a wooden spoon or heat-proof spatula. Cook until the mixture thickens slightly and coats the back of the spoon. This usually takes about 5 to 7 minutes.
Step 4: Strain and Chill
Remove the pan from the heat and stir in the vanilla extract. Pour the custard through a fine-mesh sieve into a clean bowl to remove any small bits of cooked egg. Cover the surface directly with plastic wrap to prevent a skin from forming. Refrigerate for at least 4 hours, or ideally overnight, until completely cold.
Step 5: Churn and Freeze
Pour the chilled custard into your ice cream maker and churn according to the manufacturer’s instructions, usually for about 20 to 25 minutes. The ice cream will have a soft-serve consistency at this point. Transfer the ice cream to an airtight container and freeze for at least 4 hours to firm up before serving.
How to Serve vanilla ice cream recipe
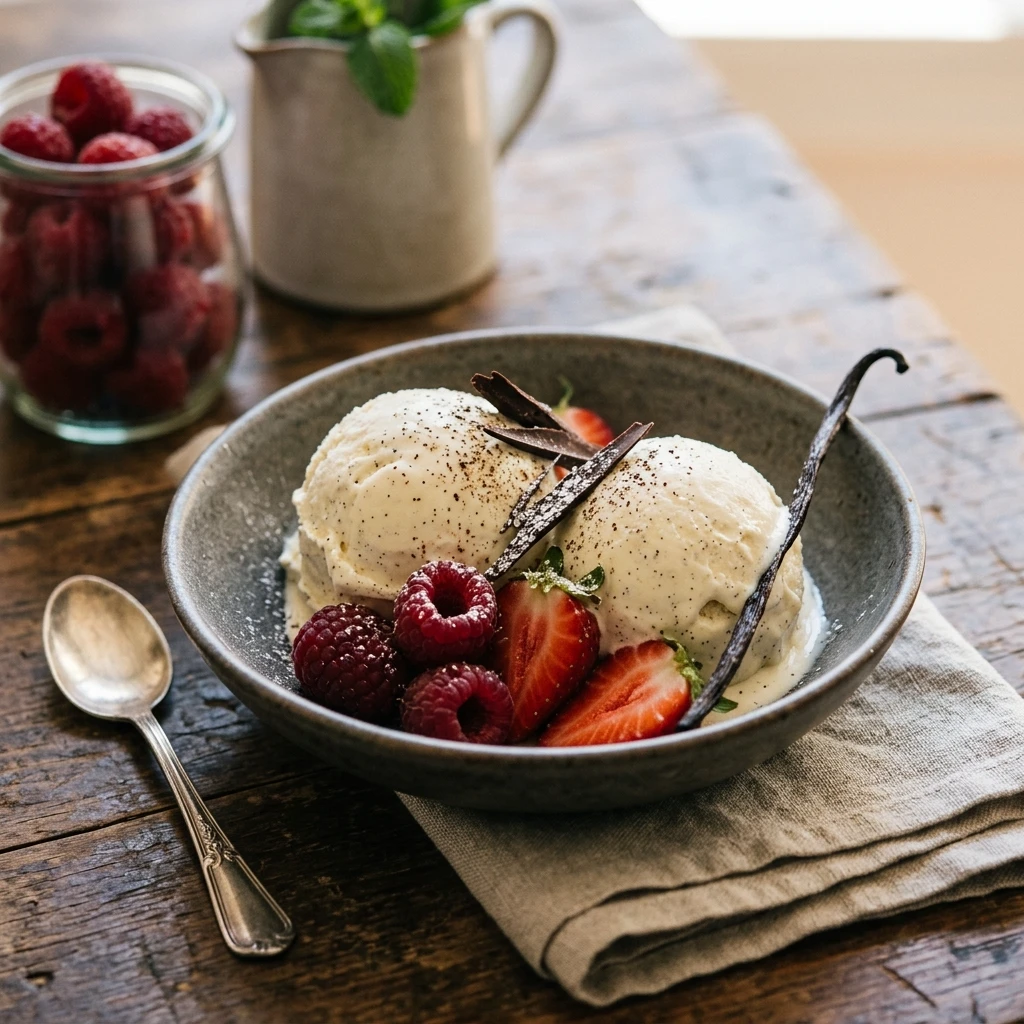
This ice cream is spectacular on its own, but it also pairs beautifully with other desserts. Serve a generous scoop over a warm apple crisp, a fudgy brownie, or a slice of peach cobbler. For a classic sundae experience, top it with homemade chocolate ganache, crushed peanuts, and a maraschino cherry. If you want to keep it simple, a light drizzle of honey or a sprinkle of sea salt can elevate the natural vanilla flavors.
How to Store vanilla ice cream recipe
To keep your ice cream fresh, store it in an airtight container in the coldest part of your freezer. To prevent ice crystals from forming on the surface, press a piece of parchment paper or plastic wrap directly onto the surface of the ice cream before sealing the lid. Homemade ice cream is best enjoyed within two weeks, as it does not contain the preservatives found in store-bought versions.
Expert Tips for Perfect vanilla ice cream recipe
Always use the highest quality vanilla you can find. Since vanilla is the star of the show, using a pure extract or a fresh vanilla bean will provide a much deeper flavor than imitation versions. Additionally, make sure your ice cream maker’s bowl is completely frozen before you start—most require at least 24 hours in the freezer. Finally, do not skip the chilling process; a cold base results in smaller ice crystals and a much smoother final product.
Delicious Variations
You can easily customize this recipe to suit your cravings. For a “Vanilla Bean” version, scrape the seeds from one vanilla bean into the milk mixture while heating. If you prefer a bit of crunch, fold in crushed chocolate sandwich cookies or toasted pecans during the last two minutes of churning. For a fruity twist, swirl in a ribbon of raspberry jam or fresh strawberry puree just before transferring the churned ice cream to the freezer container.
Frequently Asked Questions
Q: Can I make this without an ice cream maker?
Yes, you can use the “still freeze” method. Pour the chilled custard into a shallow dish and place it in the freezer. Every 30 minutes, take it out and whisk it vigorously to break up ice crystals. Repeat this for about 3 hours until frozen.
Q: Why did my custard turn lumpy?
This usually happens if the heat is too high or if you didn’t stir constantly. If it happens, you can often fix it by running the mixture through a blender and then straining it through a fine-mesh sieve.
Q: Can I use low-fat milk instead of whole milk?
You can, but the ice cream will be less creamy and may develop more ice crystals. The fat content in the whole milk and heavy cream is what gives the ice cream its signature smooth texture.
Q: How do I know when the custard is thick enough?
Perform the “line test.” Dip a wooden spoon into the custard and run your finger across the back of it. If the line stays clear and the custard doesn’t run into the gap, it is ready.
Q: What is the best way to prevent the ice cream from getting too hard?
Adding a tablespoon of vodka or vegetable glycerin to the mix can help. Since alcohol doesn’t freeze, it keeps the ice cream a bit softer. Alternatively, let the container sit on the counter for 5-10 minutes before scooping.
Conclusion
Mastering this vanilla ice cream recipe is a milestone for any home cook. It is a simple yet elegant dessert that highlights the beauty of fresh ingredients. Once you taste the creamy, custard-like texture of this homemade version, you may never want to go back to store-bought ice cream again. Enjoy the process, experiment with toppings, and savor every cool, delicious spoonful!
vanilla ice cream recipe
- Total Time: 25 minutes
Ingredients
- 2 cups heavy cream
- 1 cup whole milk
- 3/4 cup granulated sugar
- 1 tablespoon high-quality vanilla extract (or one vanilla bean)
- 5 large egg yolks
- 1/4 teaspoon salt
Instructions
- In a medium saucepan over medium heat, combine the heavy cream, whole milk, sugar, and salt. Stir the mixture occasionally to dissolve the sugar. Heat until the liquid is steaming and small bubbles form around the edges, but do not let it reach a full rolling boil.
- While the dairy is heating, whisk the egg yolks in a medium bowl until they are smooth. Once the cream mixture is hot, slowly ladle about half a cup of the hot liquid into the egg yolks while whisking constantly. This “tempering” process gradually warms the eggs so they don’t scramble when added to the pot.
- Slowly pour the tempered egg mixture back into the saucepan with the remaining cream. Continue to cook over medium-low heat, stirring constantly with a wooden spoon or heat-proof spatula. Cook until the mixture thickens slightly and coats the back of the spoon. This usually takes about 5 to 7 minutes.
- Remove the pan from the heat and stir in the vanilla extract. Pour the custard through a fine-mesh sieve into a clean bowl to remove any small bits of cooked egg. Cover the surface directly with plastic wrap to prevent a skin from forming. Refrigerate for at least 4 hours, or ideally overnight, until completely cold.
- Pour the chilled custard into your ice cream maker and churn according to the manufacturer’s instructions, usually for about 20 to 25 minutes. The ice cream will have a soft-serve consistency at this point. Transfer the ice cream to an airtight container and freeze for at least 4 hours to firm up before serving.
- Cook Time: 25 minutes (plus 8 hours for chilling and freezing)
- Diet: Vegetarian