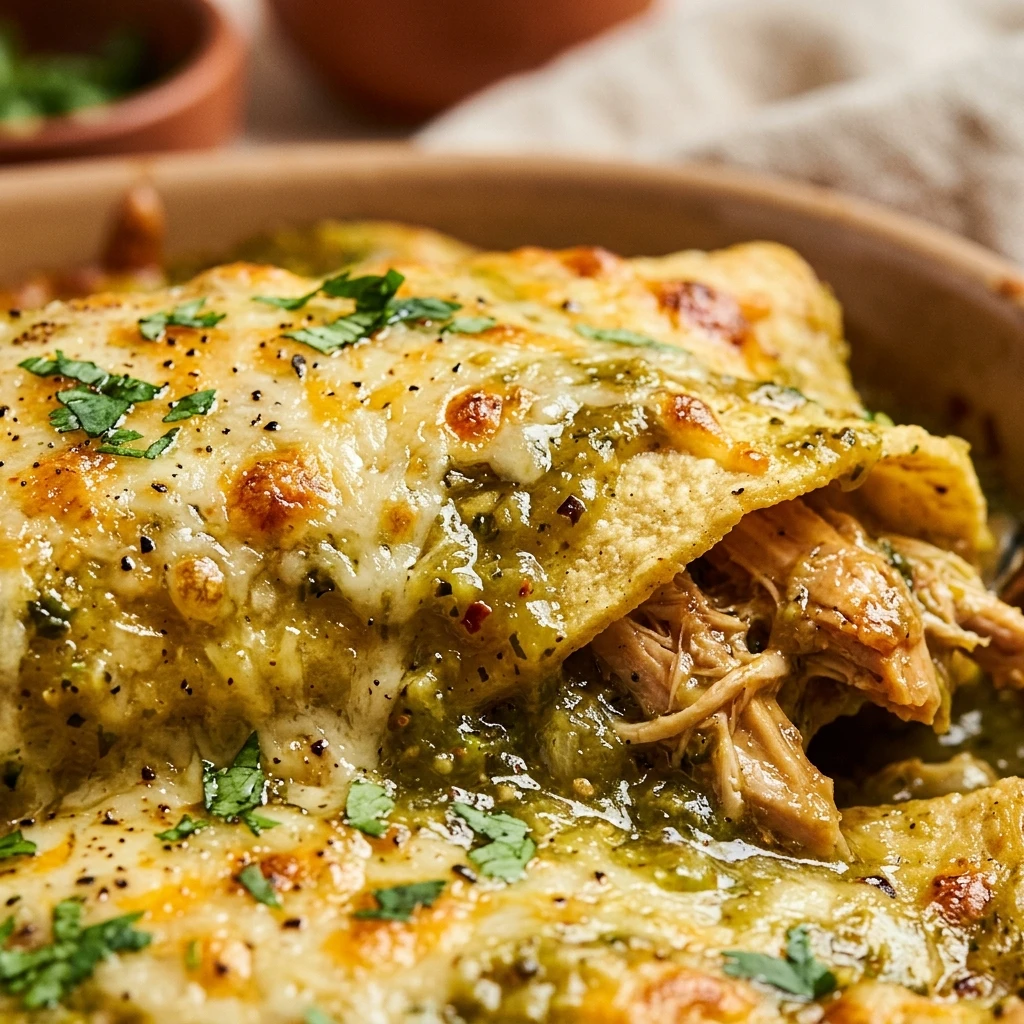

There is something incredibly comforting about a warm plate of enchiladas, and these Creamy Hatch Chili Chicken Enchiladas take that comfort to a whole new level. Featuring the unique, smoky flavor of authentic Hatch green chilies paired with a velvety smooth sauce, this dish is a crowd-pleaser that balances mild heat with rich creaminess. Whether you are a fan of Southwestern cuisine or just looking for a new family favorite, this recipe delivers a satisfying meal that feels special enough for a weekend dinner but is simple enough for a busy weeknight.
The secret lies in the combination of sour cream and green enchilada sauce, which creates a luscious topping that keeps the chicken moist and tender. Using pre-cooked chicken makes the assembly a breeze, allowing the flavors to meld together perfectly in the oven. Get ready to enjoy a dish that is cheesy, savory, and full of that signature New Mexico zest.
Recipe Information
- Prep Time: 15 minutes
- Cook Time: 25 minutes
- Total Time: 40 minutes
- Servings: 6
- Difficulty Level: Easy
Nutrition Information
- Calories per serving: 450
- Protein: 28g
- Carbohydrates: 32g
- Fat: 24g
- Fiber: 3g
- Sugar: 4g
- Sodium: 850mg
Why Make This Creamy Hatch Chili Chicken Enchiladas
You should make this recipe because it offers a sophisticated flavor profile with very little effort. Hatch chilies are world-renowned for their earthy, smoky taste that you simply can’t get from standard bell peppers or jalapeños. By using canned Hatch chilies, you get that authentic taste year-round without the need for roasting and peeling fresh peppers yourself.
Another reason to love this dish is its versatility. It is a fantastic way to use up leftover rotisserie chicken, and it scales easily if you are feeding a larger group. The creamy sauce is naturally kid-friendly while the cumin and garlic powder provide enough depth to satisfy adult palates. It’s a complete, well-rounded meal that everyone at the table will ask for seconds of.
How to Make Creamy Hatch Chili Chicken Enchiladas
Making these enchiladas is a simple process of mixing, rolling, and baking. Follow these easy steps to bring this creamy, cheesy Southwestern delight to your kitchen table.
Ingredients
- 3 cups shredded cooked chicken
- 2 cups shredded Monterey Jack cheese (divided)
- 1 cup sour cream
- 1 can (10 oz) green enchilada sauce
- 1 can (4 oz) diced Hatch green chilies
- 1/2 cup chicken broth
- 1 tsp cumin
- 1/2 tsp garlic powder
- Salt and pepper to taste
- 10-12 corn or flour tortillas
- Fresh cilantro for garnish
Directions
Step 1: Preparation and Oven Setup
Preheat your oven to 350°F (175°C). While the oven is heating, lightly grease a 9×13 inch baking dish with non-stick spray or a small amount of oil to prevent the tortillas from sticking.
Step 2: Mixing the Chicken Filling
In a large mixing bowl, combine the shredded cooked chicken, 1 cup of the Monterey Jack cheese, the diced Hatch green chilies, cumin, and garlic powder. Season with salt and pepper to taste. Mix everything together until the chicken is evenly coated with the spices and cheese.
Step 3: Whisking the Creamy Sauce
In a separate medium bowl, whisk together the sour cream, green enchilada sauce, and chicken broth until the mixture is smooth and well-blended. This creates the signature creamy green sauce that defines the dish.
Step 4: Assembling the Enchiladas
Spread about 1/4 cup of the sauce mixture over the bottom of your prepared baking dish. To assemble the enchiladas, place a portion of the chicken mixture in the center of a tortilla, roll it up tightly, and place it seam-side down in the dish. Repeat this until all the filling or tortillas are used.
Step 5: Adding Sauce and Cheese
Pour the remaining creamy sauce evenly over the top of the assembled enchiladas, ensuring you cover the edges of the tortillas to prevent them from drying out. Sprinkle the remaining 1 cup of Monterey Jack cheese over the top.
Step 6: Baking and Garnish
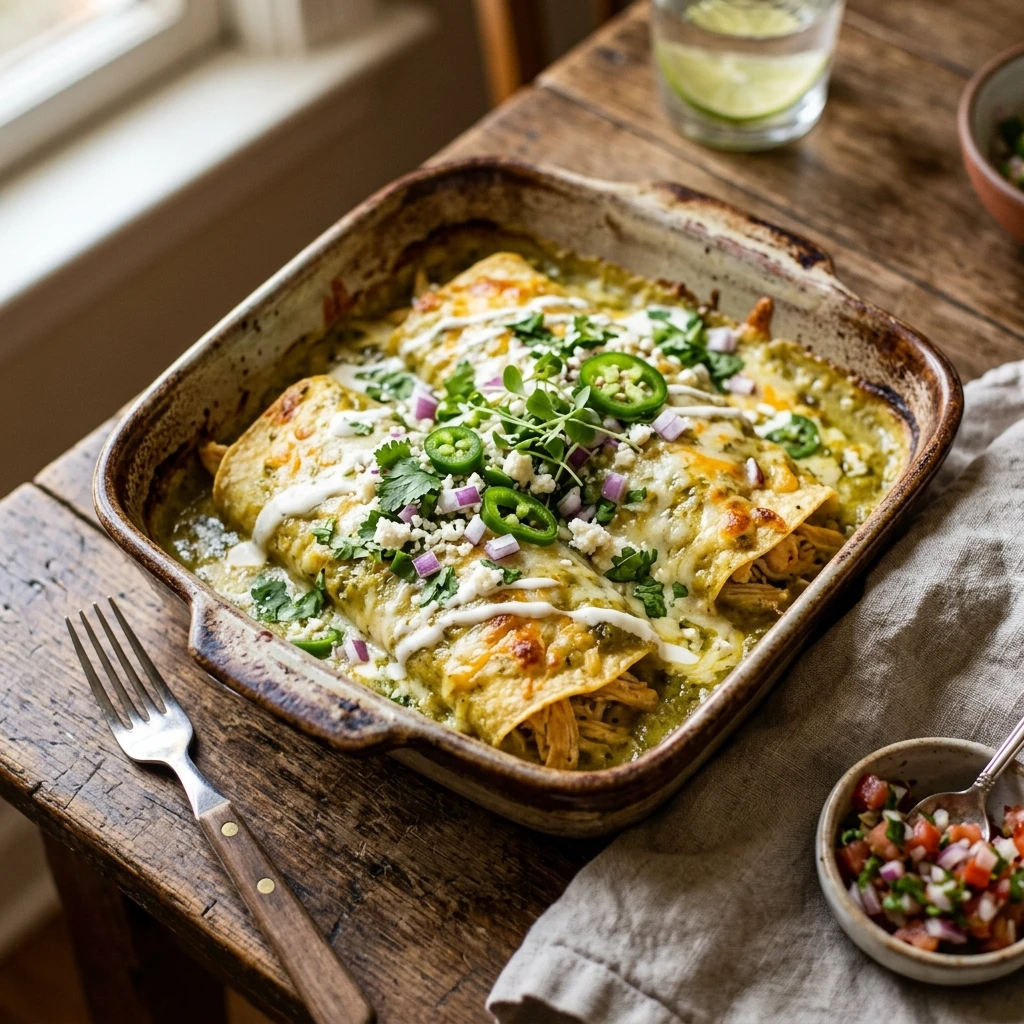
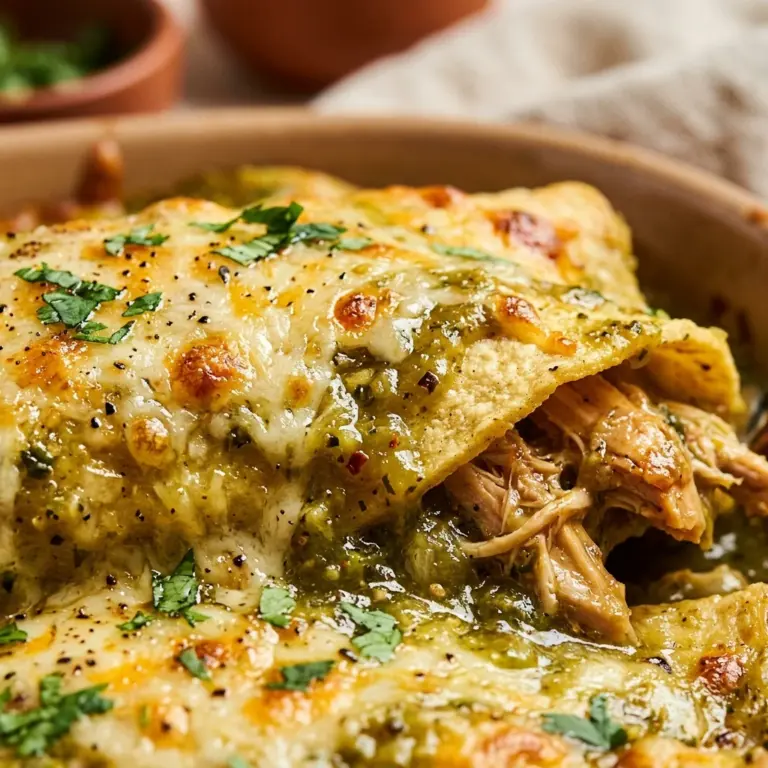
Place the dish in the oven and bake for 20 to 25 minutes. The cheese should be melted and bubbly, and the sauce should be heated through. Remove from the oven and garnish with fresh cilantro before serving.
How to Serve Creamy Hatch Chili Chicken Enchiladas
These enchiladas are a meal on their own, but they pair beautifully with a few classic sides. Serve them alongside a scoop of Mexican red rice or a simple cilantro-lime rice. A side of black beans or refried beans topped with a little extra cheese is also a great addition. To cut through the richness of the cream sauce, consider serving a crisp garden salad with a lime vinaigrette or some sliced avocado and radishes on top.
How to Store Creamy Hatch Chili Chicken Enchiladas
If you have leftovers, store them in an airtight container in the refrigerator for up to 3 to 4 days. To reheat, place a serving in the microwave for 1-2 minutes or put the dish back in the oven at 350°F covered with foil until warmed through. You can also freeze these enchiladas! Assemble them in a freezer-safe dish but do not bake. Cover tightly with plastic wrap and foil; they will keep for up to 3 months. Thaw in the fridge overnight before baking as directed.
Expert Tips for Perfect Creamy Hatch Chili Chicken Enchiladas
For the best texture, try lightly warming your tortillas in the microwave or on a dry skillet before rolling them; this makes them more pliable and prevents cracking. If you prefer a bit more heat, look for “Hot” canned Hatch chilies instead of the mild version. Additionally, grating your own Monterey Jack cheese from a block rather than using pre-shredded bags will result in a much smoother, creamier melt.
Delicious Variations
You can easily customize this recipe to suit your preferences. If you aren’t a fan of chicken, try using shredded pork carnitas or even ground turkey. For a vegetarian version, swap the chicken for a mix of black beans, corn, and sautéed spinach. If you want even more creaminess, you can add 4 ounces of softened cream cheese into the chicken filling mixture. Finally, feel free to swap the Monterey Jack for a Mexican blend or Pepper Jack cheese for an extra kick.
Frequently Asked Questions
Q: Can I use flour tortillas instead of corn?
Yes, you can use either! Corn tortillas are more traditional and provide a distinct texture, while flour tortillas are softer and tend to soak up more of the sauce. Both work perfectly in this recipe.
Q: Are Hatch chilies very spicy?
Hatch chilies come in various heat levels ranging from mild to extra hot. Most canned varieties are mild to medium, providing a wonderful smoky flavor without overpowering heat.
Q: Can I make this dish ahead of time?
Absolutely. You can assemble the enchiladas, cover them, and keep them in the refrigerator for up to 24 hours before baking. Just add a few extra minutes to the bake time since the dish will be cold.
Q: What if I can’t find Hatch green chilies?
If you can’t find Hatch specifically, you can substitute them with standard canned diced green chilies. The flavor will be slightly different, but still delicious.
Q: How do I prevent my corn tortillas from falling apart?
The key is to heat them until they are soft before rolling. You can also lightly fry them in a little oil for a few seconds on each side to give them more structural integrity.
Conclusion
Creamy Hatch Chili Chicken Enchiladas are a fantastic way to bring the vibrant flavors of the Southwest into your home. With their rich, cheesy sauce and the unmistakable smoky notes of green chilies, they offer a dining experience that is both comforting and exciting. This recipe is sure to become a staple in your meal rotation, proving that you don’t need a lot of time to create a dish that tastes like it came straight from a professional kitchen. Enjoy your meal!
Creamy Hatch Chili Chicken Enchiladas
- Total Time: 40 minutes
Ingredients
- 3 cups shredded cooked chicken
- 2 cups shredded Monterey Jack cheese (divided)
- 1 cup sour cream
- 1 can (10 oz) green enchilada sauce
- 1 can (4 oz) diced Hatch green chilies
- 1/2 cup chicken broth
- 1 tsp cumin
- 1/2 tsp garlic powder
- Salt and pepper to taste
- 10–12 corn or flour tortillas
- Fresh cilantro for garnish
Instructions
- Preheat your oven to 350°F (175°C). While the oven is heating, lightly grease a 9×13 inch baking dish with non-stick spray or a small amount of oil to prevent the tortillas from sticking.
- In a large mixing bowl, combine the shredded cooked chicken, 1 cup of the Monterey Jack cheese, the diced Hatch green chilies, cumin, and garlic powder. Season with salt and pepper to taste. Mix everything together until the chicken is evenly coated with the spices and cheese.
- In a separate medium bowl, whisk together the sour cream, green enchilada sauce, and chicken broth until the mixture is smooth and well-blended.
- Spread about 1/4 cup of the sauce mixture over the bottom of your prepared baking dish. To assemble the enchiladas, place a portion of the chicken mixture in the center of a tortilla, roll it up tightly, and place it seam-side down in the dish. Repeat this until all the filling or tortillas are used.
- Pour the remaining creamy sauce evenly over the top of the assembled enchiladas, ensuring you cover the edges of the tortillas to prevent them from drying out. Sprinkle the remaining 1 cup of Monterey Jack cheese over the top.
- Place the dish in the oven and bake for 20 to 25 minutes. The cheese should be melted and bubbly, and the sauce should be heated through. Remove from the oven and garnish with fresh cilantro before serving.
- Cook Time: 40 minutes
- Diet: None