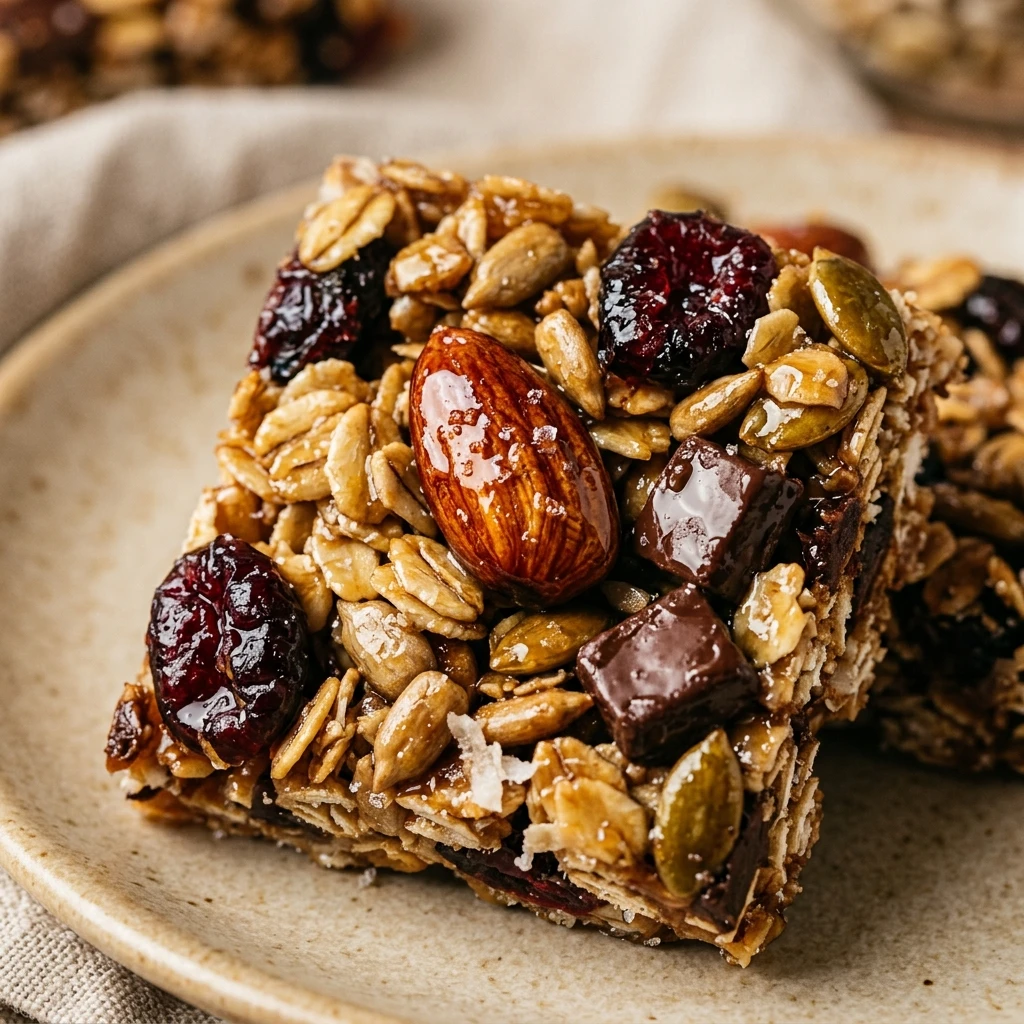
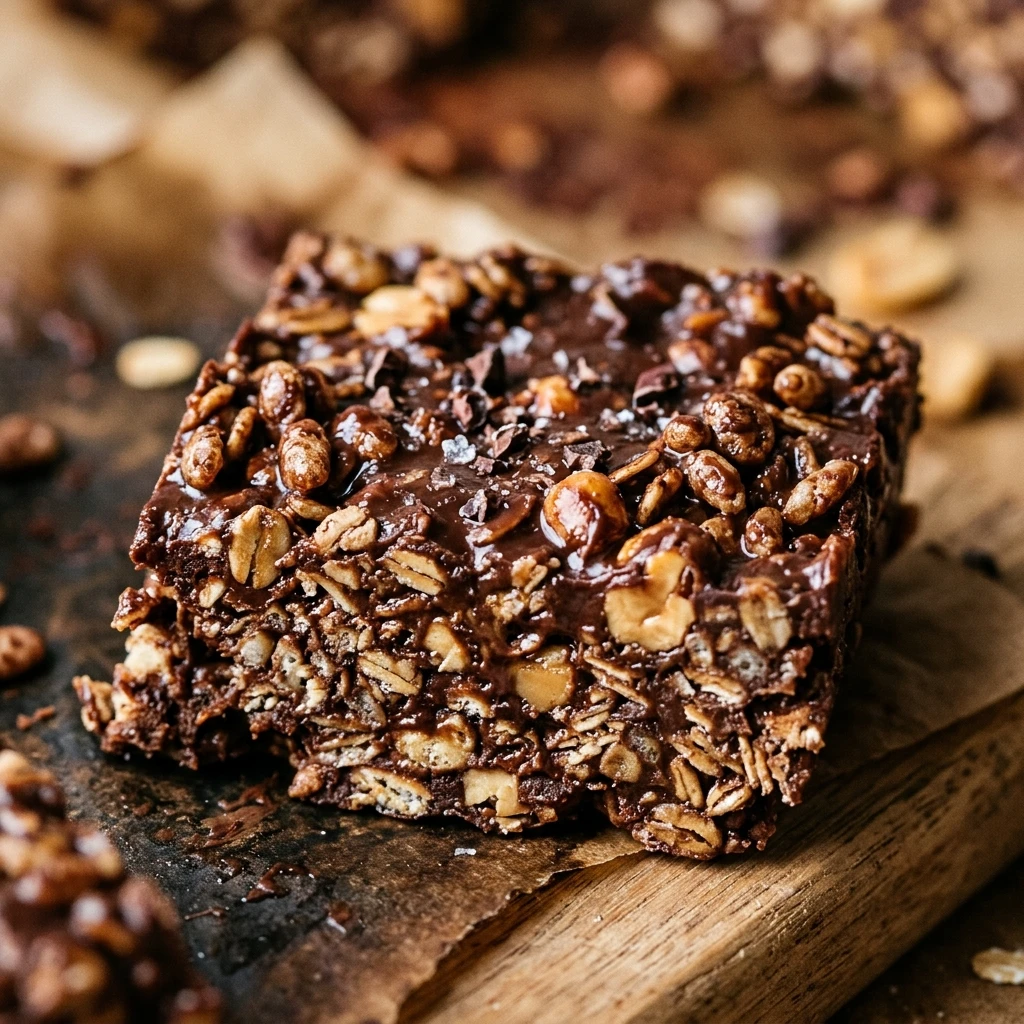

Finding the perfect snack that satisfies a sweet tooth while providing a bit of energy can be a challenge. These No-Bake Chocolate Peanut Butter School Treats are the ideal solution for busy parents and hungry students. They offer a nostalgic flavor profile that everyone loves, combined with the convenience of a recipe that requires absolutely no time in the oven.
Whether you are packing a lunchbox or looking for a quick after-school pick-me-up, these treats hit the mark. They are chewy, chocolatey, and packed with the creamy goodness of peanut butter. Best of all, they come together in just a few minutes, making them a staple for any kitchen pantry.
Recipe Information
- Prep Time: 15 minutes
- Cook Time: 5 minutes
- Total Time: 20 minutes
- Servings: 16 bars
- Difficulty Level: Easy
Nutrition Information
- Calories per serving: 210 kcal
- Protein: 5g
- Carbohydrates: 24g
- Fat: 12g
- Fiber: 3g
- Sugar: 14g
- Sodium: 85mg
Why Make This No-Bake Chocolate Peanut Butter School Treats
One of the best reasons to make these treats is the sheer simplicity. On a hot day, the last thing you want to do is turn on the oven and heat up the whole house. Because this recipe is no-bake, you keep your kitchen cool while still producing a high-quality dessert that tastes like it came from a professional bakery.
Furthermore, these bars are highly customizable and relatively wholesome compared to store-bought processed snacks. By making them at home, you control the quality of the ingredients. They provide a great balance of fiber from the oats and protein from the peanut butter, helping to keep kids full until dinner time.
How to Make No-Bake Chocolate Peanut Butter School Treats
Getting these treats ready is a breeze. You will simply melt your base ingredients together and stir in your dry components before letting the refrigerator do the hard work of setting them into perfect, sliceable bars.
Ingredients
- 2 cups Quick-cooking oats
- 1/2 cup Creamy peanut butter
- 1/2 cup Honey or maple syrup
- 1/4 cup Unsweetened cocoa powder
- 1/4 cup Coconut oil or unsalted butter
- 1 teaspoon Vanilla extract
- 1/4 teaspoon Salt
- 1/2 cup Semi-sweet chocolate chips (optional)
Directions
Step 1: Prepare the Baking Pan
Line an 8×8-inch square baking pan with parchment paper, leaving a little overhang on the sides. This makes it much easier to lift the treats out once they have set.
Step 2: Heat the Wet Ingredients
In a medium saucepan over medium heat, combine the peanut butter, honey (or maple syrup), coconut oil, and cocoa powder. Stir constantly until the mixture is completely smooth and just begins to bubble slightly.
Step 3: Add Flavorings
Remove the saucepan from the heat immediately. Stir in the vanilla extract and the salt. Mixing these in at the end ensures the vanilla flavor stays bright and the salt is evenly distributed.
Step 4: Incorporate the Oats
Add the quick-cooking oats to the saucepan. Use a sturdy spatula to fold the oats into the chocolate mixture until every single oat is thoroughly coated. If you are using chocolate chips, wait a minute for the mixture to cool slightly before folding them in so they don’t melt completely.
Step 5: Press into the Pan
Transfer the mixture into your prepared baking pan. Use the back of a spoon or a piece of parchment paper to press the mixture down firmly and evenly. A firm press ensures the bars hold together when sliced.
Step 6: Chill and Set
Place the pan in the refrigerator for at least 1 to 2 hours, or until the mixture is cold and firm to the touch. Once set, lift the block out using the parchment paper overhang and slice into 16 squares.
How to Serve No-Bake Chocolate Peanut Butter School Treats
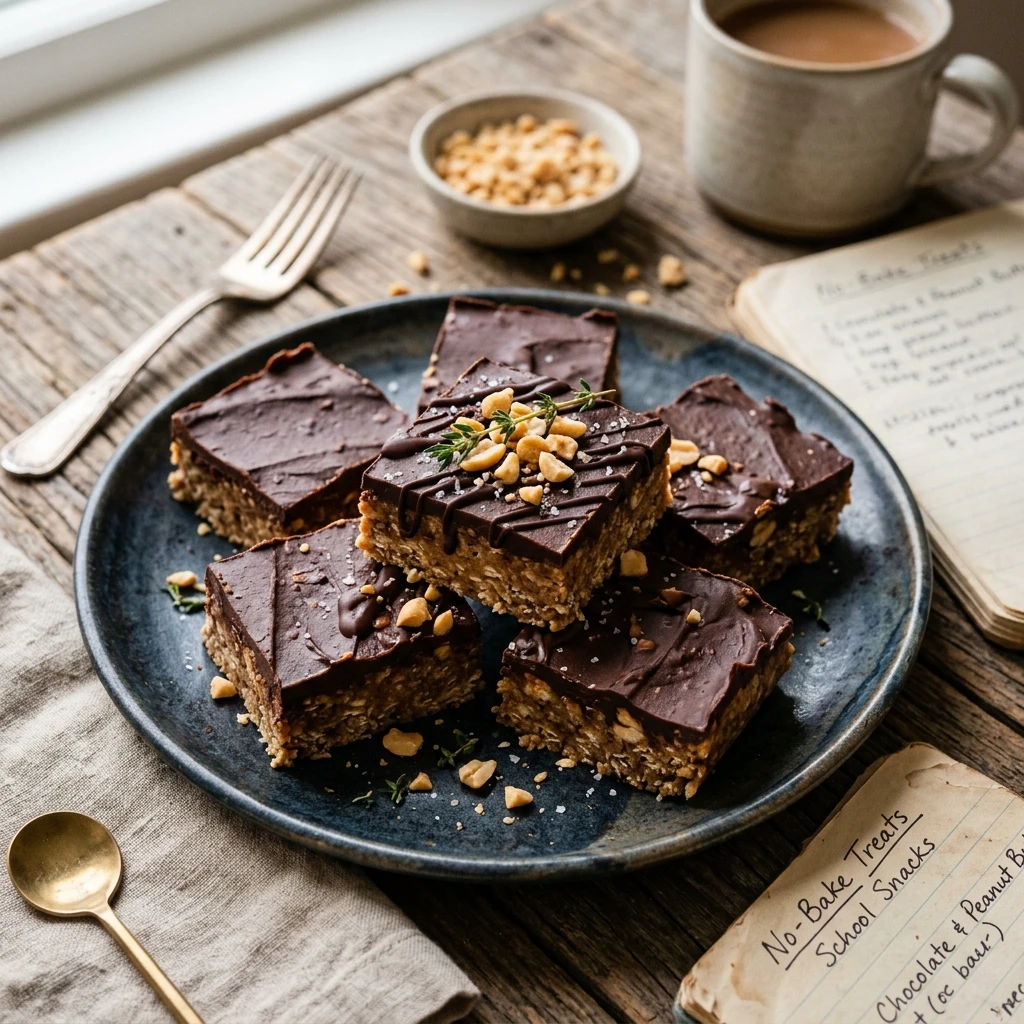
These treats are best served chilled directly from the refrigerator. The cold temperature keeps them firm and gives them a satisfying “snap” when you bite into them. They pair perfectly with a cold glass of milk or a piece of fresh fruit. For a fancier presentation at a school bake sale, you can drizzle a little extra melted peanut butter or white chocolate over the top before serving.
How to Store No-Bake Chocolate Peanut Butter School Treats
To keep these bars fresh, store them in an airtight container in the refrigerator for up to one week. If you want to keep them longer, these treats freeze beautifully. Place the sliced bars in a freezer-safe bag with layers separated by parchment paper. They will stay fresh in the freezer for up to three months. You can eat them straight from the freezer for a frozen fudge-like texture!
Expert Tips for Perfect No-Bake Chocolate Peanut Butter School Treats
Make sure you use quick-cooking oats rather than old-fashioned rolled oats. Quick oats have a finer texture that binds better in no-bake recipes, resulting in a bar that doesn’t crumble. If you only have rolled oats, give them a quick pulse in the blender first. Also, if your peanut butter is very dry (the kind you have to stir), you may need to add an extra tablespoon of honey to ensure the bars stay moist.
Delicious Variations
You can easily swap the peanut butter for almond butter or sunflower seed butter if you need a nut-free option for school. For extra crunch, try adding a handful of shredded coconut, chopped walnuts, or even some hemp seeds. If you want a more decadent treat, top the bars with a layer of melted chocolate ganache before chilling.
Frequently Asked Questions
Q: Can I make these vegan?
Yes! Simply use maple syrup instead of honey and ensure your chocolate chips are dairy-free.
Q: Why are my bars falling apart?
This usually happens if the mixture wasn’t pressed firmly enough into the pan or if there wasn’t enough liquid binder. Make sure to press down hard and chill them thoroughly.
Q: Do I have to use quick oats?
Quick oats are recommended for the best texture, but rolled oats will work if you prefer a much chewier, coarser bar.
Q: Can I use crunchy peanut butter?
Absolutely! Crunchy peanut butter adds a lovely texture to these treats without changing the recipe steps.
Q: How do I keep them from sticking to my hands?
When pressing the mixture into the pan, lightly dampen your hands or the back of your spoon with water to prevent sticking.
Conclusion
No-Bake Chocolate Peanut Butter School Treats are a lifesaver for busy schedules and sweet cravings. With their simple ingredients and quick preparation time, they prove that you don’t need an oven to make something truly delicious. Give this recipe a try this week, and you will likely find it becoming a permanent resident in your snack rotation!
No-Bake Chocolate Peanut Butter School Treats
- Total Time: 20 minutes
Ingredients
- 2 cups Quick-cooking oats
- 1/2 cup Creamy peanut butter
- 1/2 cup Honey or maple syrup
- 1/4 cup Unsweetened cocoa powder
- 1/4 cup Coconut oil or unsalted butter
- 1 teaspoon Vanilla extract
- 1/4 teaspoon Salt
- 1/2 cup Semi-sweet chocolate chips (optional)
Instructions
- Line an 8×8-inch square baking pan with parchment paper, leaving a little overhang on the sides. This makes it much easier to lift the treats out once they have set.
- In a medium saucepan over medium heat, combine the peanut butter, honey (or maple syrup), coconut oil, and cocoa powder. Stir constantly until the mixture is completely smooth and just begins to bubble slightly.
- Remove the saucepan from the heat immediately. Stir in the vanilla extract and the salt. Mixing these in at the end ensures the vanilla flavor stays bright and the salt is evenly distributed.
- Add the quick-cooking oats to the saucepan. Use a sturdy spatula to fold the oats into the chocolate mixture until every single oat is thoroughly coated. If you are using chocolate chips, wait a minute for the mixture to cool slightly before folding them in so they don’t melt completely.
- Transfer the mixture into your prepared baking pan. Use the back of a spoon or a piece of parchment paper to press the mixture down firmly and evenly. A firm press ensures the bars hold together when sliced.
- Place the pan in the refrigerator for at least 1 to 2 hours, or until the mixture is cold and firm to the touch. Once set, lift the block out using the parchment paper overhang and slice into 16 squares.
- Cook Time: 20 minutes
- Diet: Vegetarian