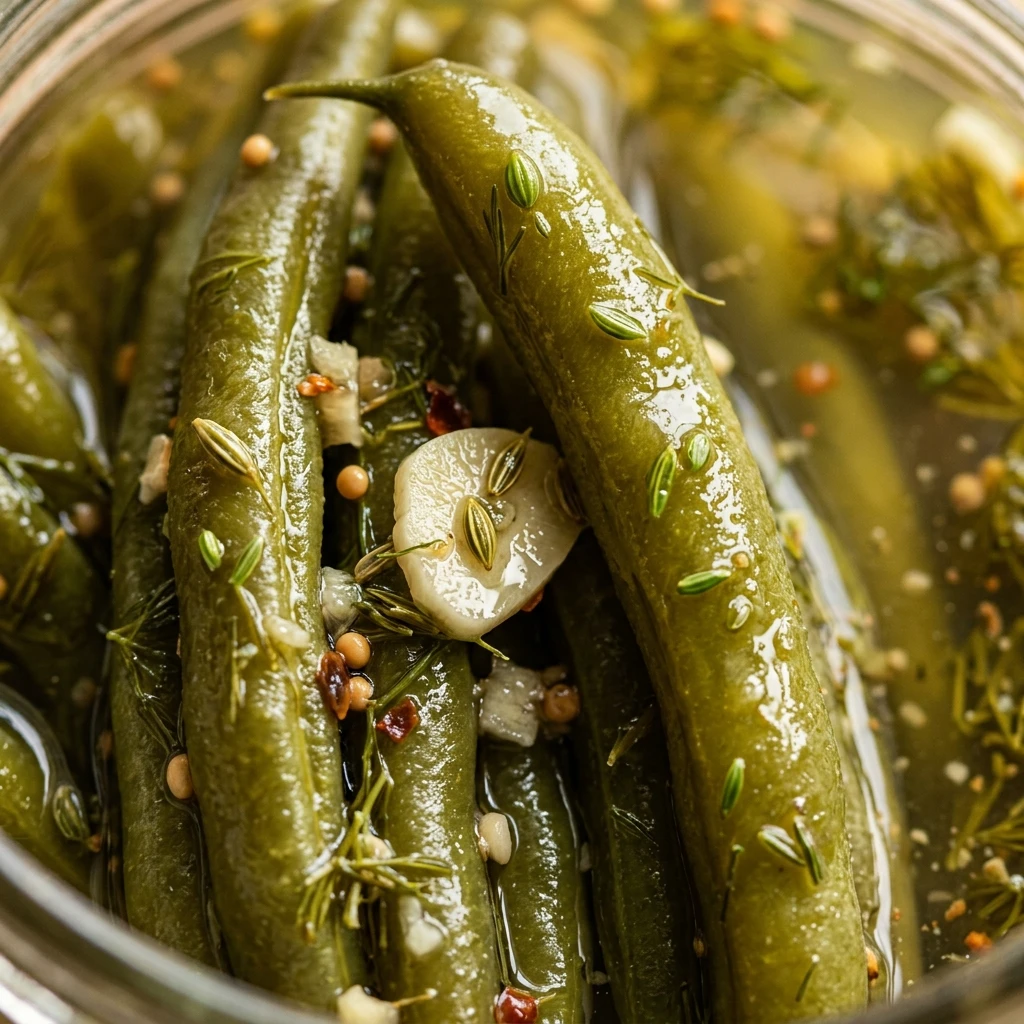

There is something incredibly satisfying about the snap of a perfectly pickled green bean. Often called “Dilly Beans,” these crunchy delights are the perfect blend of garden-fresh flavor and a tangy, garlicky punch. Whether you are looking for a unique addition to your next charcuterie board or a crisp garnish for a spicy Bloody Mary, these pickled beans are a must-have in your pantry.
Making your own pickles at home allows you to control the ingredients and the crunch factor. This recipe uses fresh green beans, plenty of garlic, and fragrant dill to create a snack that is both refreshing and bold. Once you try these homemade dilly beans, you will never want to go back to the store-bought versions again.
Recipe Information
- Prep Time: 30 minutes
- Cook Time: 15 minutes
- Total Time: 45 minutes
- Servings: 4 pint jars
- Difficulty Level: Easy
Nutrition Information
- Calories per serving: 15
- Protein: 1g
- Carbohydrates: 3g
- Fat: 0g
- Fiber: 1g
- Sugar: 1g
- Sodium: 280mg
Why Make This Crunchy Garlic Dilly Pickled Green Beans
These pickled green beans are the ultimate healthy snack. They are low in calories but high in flavor, making them a great alternative to potato chips when you are craving something salty and crunchy. The addition of fresh garlic and dill provides a classic pickle profile that appeals to everyone from kids to adults.
Another reason to love this recipe is its versatility. You can process them in a water bath for long-term shelf storage, or simply pop them in the refrigerator if you plan to eat them quickly. They make fantastic handmade gifts and are a wonderful way to preserve a large harvest from your summer garden.
How to Make Crunchy Garlic Dilly Pickled Green Beans
Gather your fresh ingredients and jars, and let’s get started on creating these vibrant, zesty pickles. The process is straightforward and yields professional-looking results every time.
Ingredients
- 2 lbs fresh green beans, washed and ends trimmed
- 4 cloves garlic, peeled and smashed
- 4 large sprigs of fresh dill (or 4 teaspoons of dill seeds)
- 2 cups white vinegar (5% acidity)
- 2 cups water
- 1/4 cup pickling or canning salt
- 1 teaspoon red pepper flakes (optional for heat)
- 1 teaspoon black peppercorns
Directions
Step 1: Prepare the Green Beans
Wash your green beans thoroughly in cold water. Trim the stem ends so the beans fit vertically into your pint-sized jars, leaving about half an inch of headspace at the top of the jar.
Step 2: Sterilize Jars and Lids
Wash four pint-sized canning jars and lids in hot, soapy water. Keep the jars warm in a large pot of simmering water until you are ready to fill them to prevent the glass from cracking when the hot brine is added.
Step 3: Pack the Aromatics
Into each warm jar, place one smashed garlic clove, one sprig of fresh dill, and a quarter-teaspoon of red pepper flakes and peppercorns. This ensures every jar has a consistent balance of flavor.
Step 4: Fill Jars with Beans
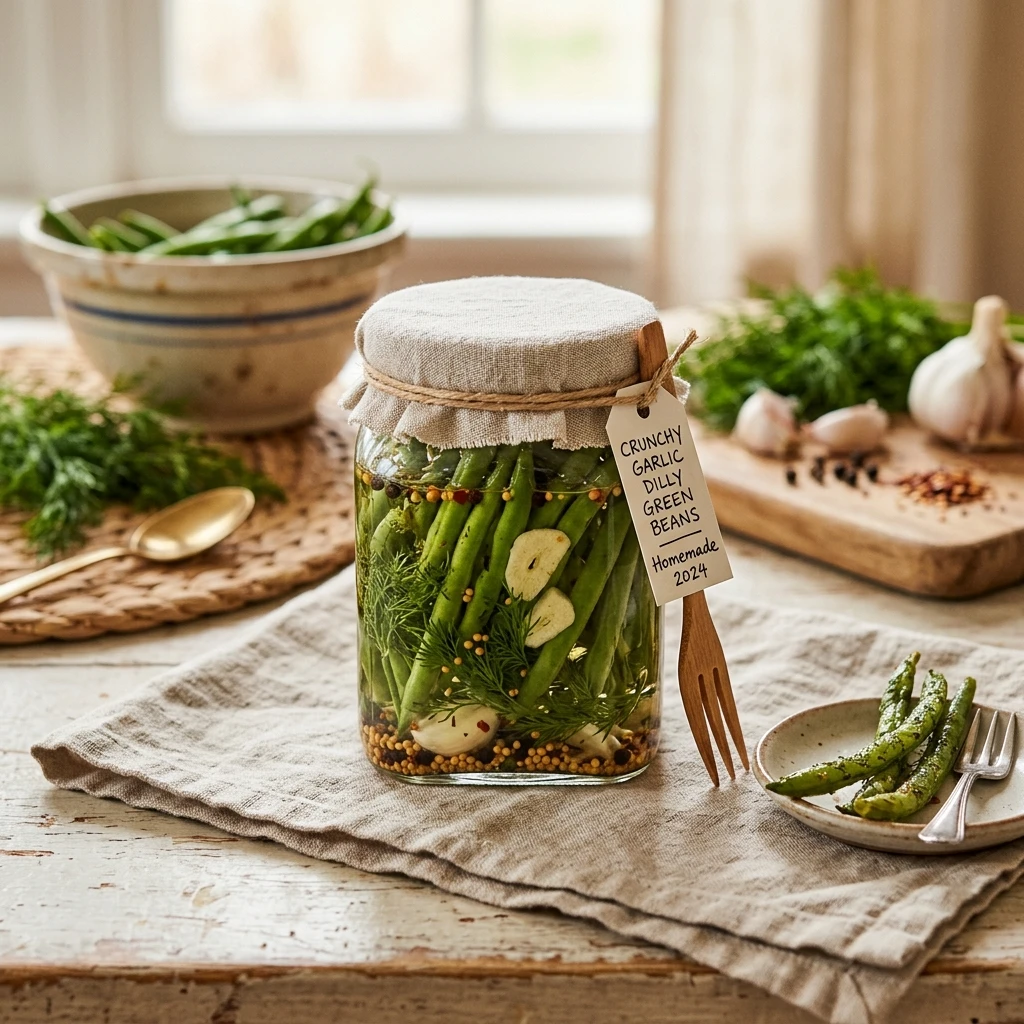
Pack the trimmed green beans into the jars tightly. Stand them up vertically for the best presentation. You want them to be snug so they don’t float, but not so tight that they get crushed.
Step 5: Prepare the Pickling Brine
In a medium saucepan, combine the white vinegar, water, and pickling salt. Bring the mixture to a rolling boil over medium-high heat, stirring until the salt is completely dissolved.
Step 6: Add Brine and Seal
Carefully pour the hot brine over the beans in each jar, leaving 1/2 inch of headspace. Run a clean spatula or bubble remover tool down the sides of the jars to release trapped air. Wipe the rims with a damp cloth, center the lids, and screw on the bands until finger-tight.
Step 7: Process the Jars
Place the jars in a boiling water bath canner. Ensure the water covers the jars by at least an inch. Process for 10 minutes. Remove the jars and let them cool undisturbed for 24 hours before checking the seals.
How to Serve Crunchy Garlic Dilly Pickled Green Beans
These beans are best served chilled. They are a classic addition to a relish tray or a charcuterie board alongside sharp cheeses and cured meats. For a fun twist, use them as a stir-stick in a Bloody Mary or a dirty martini. They also make a surprisingly good side dish for heavy meals like barbecue ribs or fried chicken, as the acidity cuts through the richness of the meat.
How to Store Crunchy Garlic Dilly Pickled Green Beans
If you have processed them in a water bath, store the sealed jars in a cool, dark place for up to one year. If you chose the refrigerator method (no water bath), keep them in the fridge and consume them within 4 weeks. Once a processed jar is opened, it must be stored in the refrigerator and is best if used within a month.
Expert Tips for Perfect Crunchy Garlic Dilly Pickled Green Beans
To ensure the crunchiest beans, use the freshest produce possible. If you can, pick or buy your beans the same day you plan to pickle them. Look for beans that “snap” easily when bent. Another tip is to avoid over-processing in the water bath; sticking to the 10-minute mark prevents the beans from becoming soft and mushy.
Delicious Variations
If you like a bit of sweetness, add a tablespoon of sugar to the brine. For a “Fire and Ice” version, double the red pepper flakes and add a slice of fresh jalapeño to each jar. You can also swap the white vinegar for apple cider vinegar if you prefer a more mellow, fruity acidity, though the color of the beans may turn a slightly darker olive green.
Frequently Asked Questions
Q: Can I use frozen green beans for this recipe?
No, frozen green beans have already been blanched and frozen, which breaks down their cell structure. Using them for pickling will result in very soft, mushy beans. Fresh is essential for the “crunch.”
Q: Why did my garlic turn blue or green in the jar?
This is a common reaction between the enzymes in the garlic and the vinegar. It is perfectly safe to eat and does not affect the flavor, though it can look a bit startling at first!
Q: Do I have to use pickling salt?
It is highly recommended. Regular table salt contains anti-caking agents that can make your pickling brine look cloudy. Pickling salt is pure and results in a crystal-clear brine.
Q: How long should I wait before eating them?
While you can eat them right away, the flavor develops significantly over time. It is best to wait at least two weeks before opening a jar so the beans can fully absorb the garlic and dill flavors.
Q: Can I make these without a water bath canner?
Yes, you can make them as “refrigerator pickles.” Follow all the steps but skip the boiling water bath. Simply put the jars in the fridge after they cool down. They will stay crunchy but won’t be shelf-stable.
Conclusion
Crunchy Garlic Dilly Pickled Green Beans are a rewarding DIY project that brings a burst of flavor to your kitchen. With their zesty garlic kick and refreshing dill aroma, they are sure to become a family favorite. Give this recipe a try and enjoy the satisfying crunch of home-preserved goodness all year round!
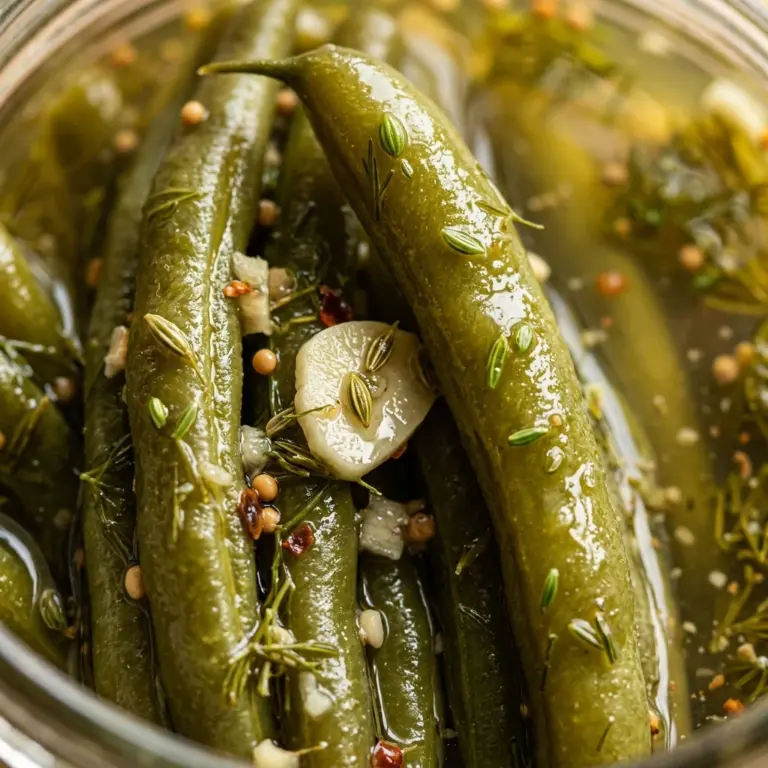
Crunchy Garlic Dilly Pickled Green Beans
- Total Time: 45 minutes
Ingredients
- 2 lbs fresh green beans, washed and ends trimmed
- 4 cloves garlic, peeled and smashed
- 4 large sprigs of fresh dill (or 4 teaspoons of dill seeds)
- 2 cups white vinegar (5% acidity)
- 2 cups water
- 1/4 cup pickling or canning salt
- 1 teaspoon red pepper flakes (optional for heat)
- 1 teaspoon black peppercorns
Instructions
- Wash your green beans thoroughly in cold water. Trim the stem ends so the beans fit vertically into your pint-sized jars, leaving about half an inch of headspace at the top of the jar.
- Wash four pint-sized canning jars and lids in hot, soapy water. Keep the jars warm in a large pot of simmering water until you are ready to fill them to prevent the glass from cracking when the hot brine is added.
- Into each warm jar, place one smashed garlic clove, one sprig of fresh dill, and a quarter-teaspoon of red pepper flakes and peppercorns. This ensures every jar has a consistent balance of flavor.
- Pack the trimmed green beans into the jars tightly. Stand them up vertically for the best presentation. You want them to be snug so they don’t float, but not so tight that they get crushed.
- In a medium saucepan, combine the white vinegar, water, and pickling salt. Bring the mixture to a rolling boil over medium-high heat, stirring until the salt is completely dissolved.
- Carefully pour the hot brine over the beans in each jar, leaving 1/2 inch of headspace. Run a clean spatula or bubble remover tool down the sides of the jars to release trapped air. Wipe the rims with a damp cloth, center the lids, and screw on the bands until finger-tight.
- Place the jars in a boiling water bath canner. Ensure the water covers the jars by at least an inch. Process for 10 minutes. Remove the jars and let them cool undisturbed for 24 hours before checking the seals.
- Cook Time: 45 minutes
- Diet: Vegetarian, Vegan, Gluten-Free, Keto, Low-Carb