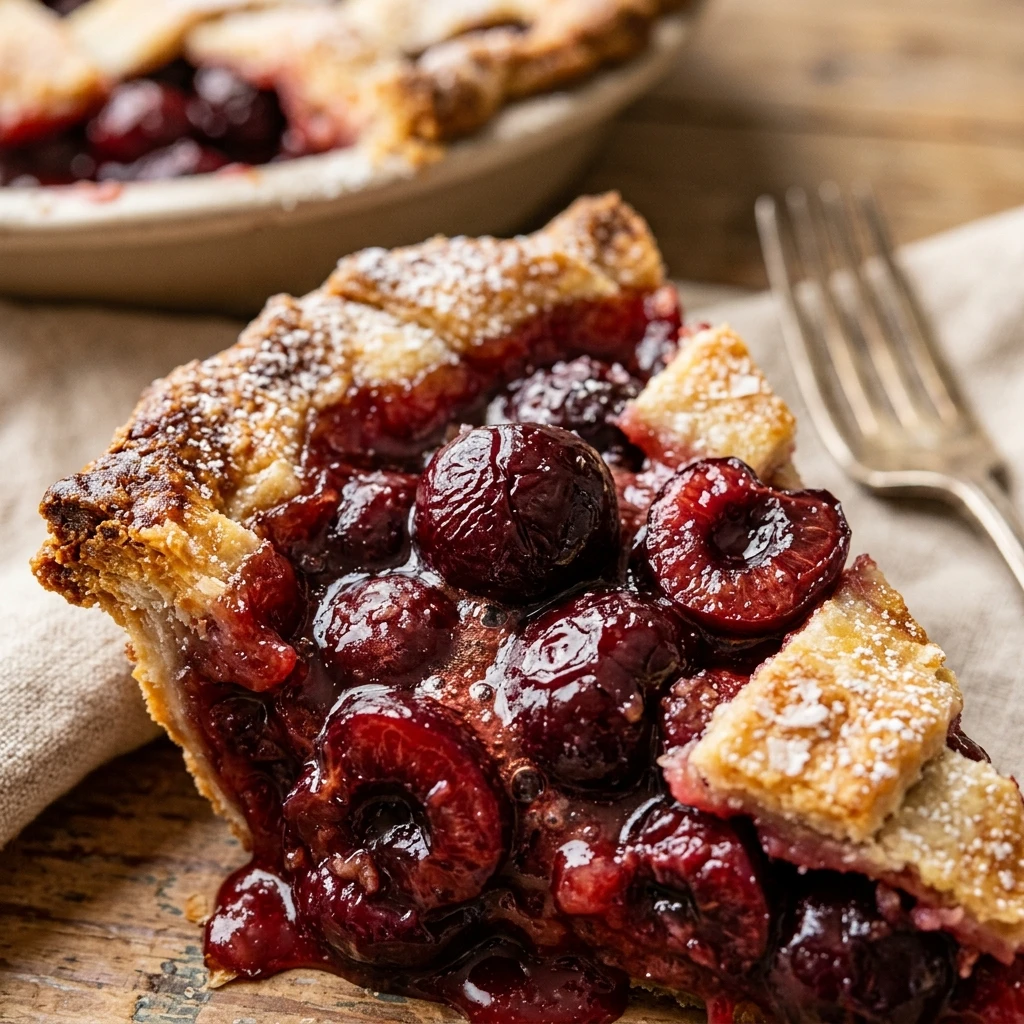

There is something truly magical about a homemade cherry pie. The combination of a flaky, buttery crust and a vibrant, tangy cherry filling is a classic for a reason. Whether you are using fresh summer cherries or convenient frozen ones, this recipe delivers a perfect slice every time. It is a comforting dessert that brings back memories of family gatherings and summer picnics.
Making a fruit pie from scratch might seem intimidating, but it is actually quite simple once you learn a few tricks. This cherry pie recipe focuses on getting that filling just right—thick enough to hold its shape but juicy enough to melt in your mouth. Get ready to impress your friends and family with a beautiful, professional-looking dessert that tastes even better than it looks.
Recipe Information
- Prep Time: 30 minutes
- Cook Time: 50 minutes
- Total Time: 80 minutes
- Servings: 8
- Difficulty Level: Medium
Nutrition Information
- Calories per serving: 425 kcal
- Protein: 4g
- Carbohydrates: 62g
- Fat: 18g
- Fiber: 3g
- Sugar: 32g
- Sodium: 310mg
Why Make This cherry pie recipe
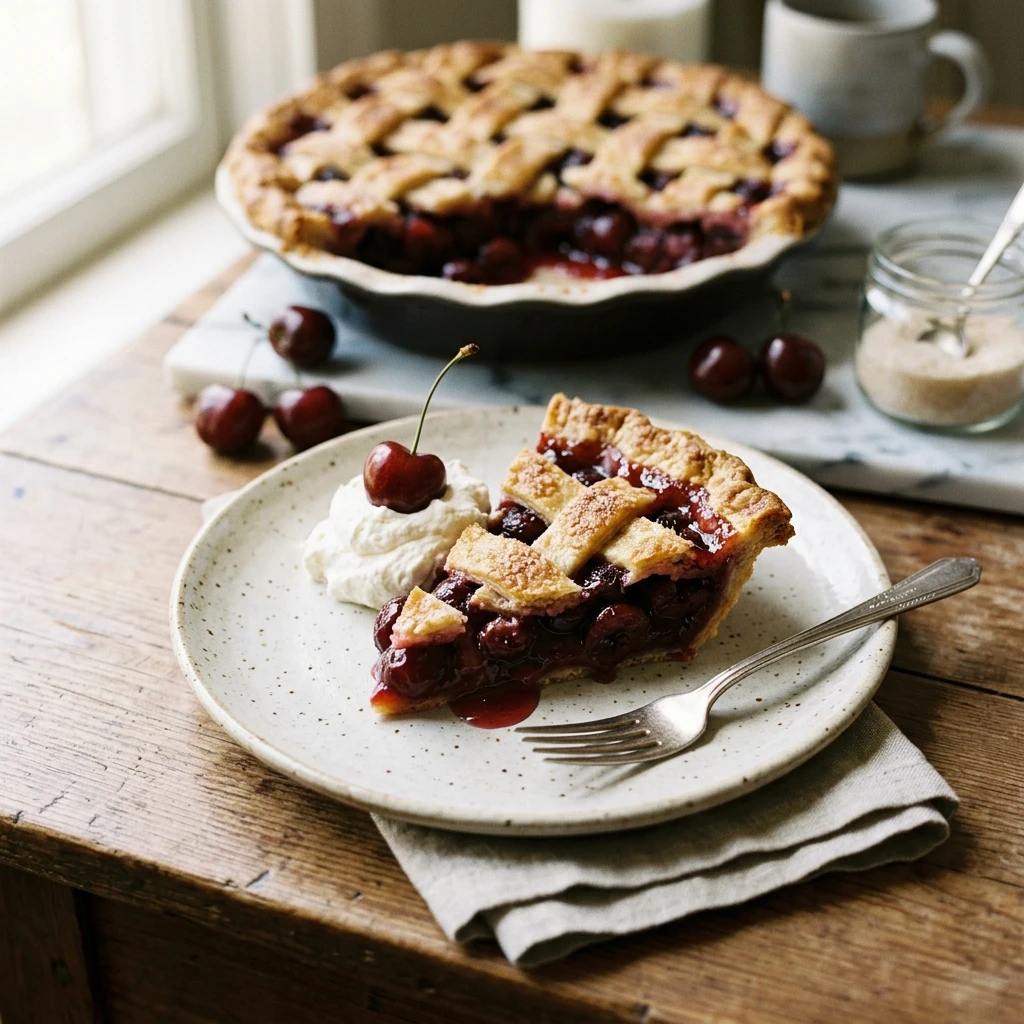
This cherry pie recipe is the ultimate crowd-pleaser because it balances sweetness with a bright acidity. Unlike store-bought pies that can be overly sugary or gummy, this version uses fresh lemon juice and a hint of almond extract to enhance the natural flavor of the cherries. The result is a sophisticated filling that feels light and fresh.
Another reason to love this recipe is its versatility. You can use a classic lattice top for a stunning presentation or a full top crust for a more rustic look. It is also a great “make-ahead” dessert, as the flavors often settle and deepen after the pie has had time to cool completely. It truly is the gold standard of fruit pies.
How to Make cherry pie recipe
Creating this masterpiece is a rewarding process that involves preparing a luscious fruit filling and assembling it within a golden, flaky pastry shell. Follow these steps carefully to ensure a perfect bake.
Ingredients
- 2 chilled pie crusts (homemade or store-bought)
- 5 cups pitted tart cherries (fresh, frozen, or canned)
- 1 cup granulated white sugar
- 1/4 cup cornstarch
- 1 tablespoon lemon juice
- 1/2 teaspoon almond extract
- 1 tablespoon unsalted butter, cut into small pieces
- 1 large egg, beaten (for egg wash)
- 1 tablespoon coarse sugar (for topping)
Directions
Step 1: Preheat and Prepare
Preheat your oven to 400°F (200°C). Roll out one of the chilled pie crusts and fit it into a 9-inch pie plate. Trim the edges, leaving a small overhang, and place it back in the refrigerator while you prepare the filling.
Step 2: Mix the Cherry Filling
In a large mixing bowl, combine the pitted cherries, granulated sugar, cornstarch, lemon juice, and almond extract. Toss everything together gently until the cherries are evenly coated and the cornstarch has dissolved into the juices.
Step 3: Fill the Pie
Pour the cherry mixture into the prepared bottom crust. Use a spatula to spread the cherries evenly. Take the small pieces of butter and dot them across the top of the cherry filling to add richness and shine.
Step 4: Create the Top Crust
Roll out the second pie crust. You can place it whole over the top and cut slits for steam, or cut it into strips to create a lattice weave. Seal the edges of the top and bottom crusts together by crimping them with your fingers or a fork.
Step 5: Apply Egg Wash
Brush the top crust lightly with the beaten egg wash. This helps the pie achieve a beautiful golden-brown color. Sprinkle the coarse sugar over the top for an extra crunch and a professional finish.
Step 6: Bake to Perfection
Place the pie on a baking sheet to catch any drips. Bake at 400°F for 20 minutes, then reduce the heat to 375°F (190°C) and bake for another 30 to 35 minutes. The crust should be golden and the filling should be bubbling in the center.
Step 7: Cool Completely
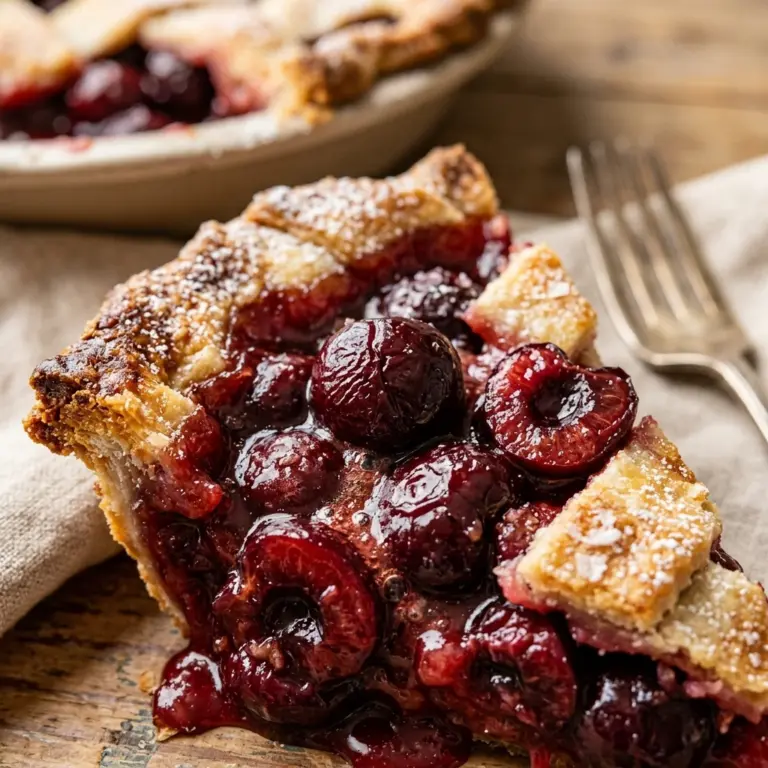
This is the hardest part! Allow the pie to cool on a wire rack for at least 3 to 4 hours. Cooling is essential because it allows the cornstarch to set, ensuring the filling doesn’t run when you cut into it.
How to Serve cherry pie recipe
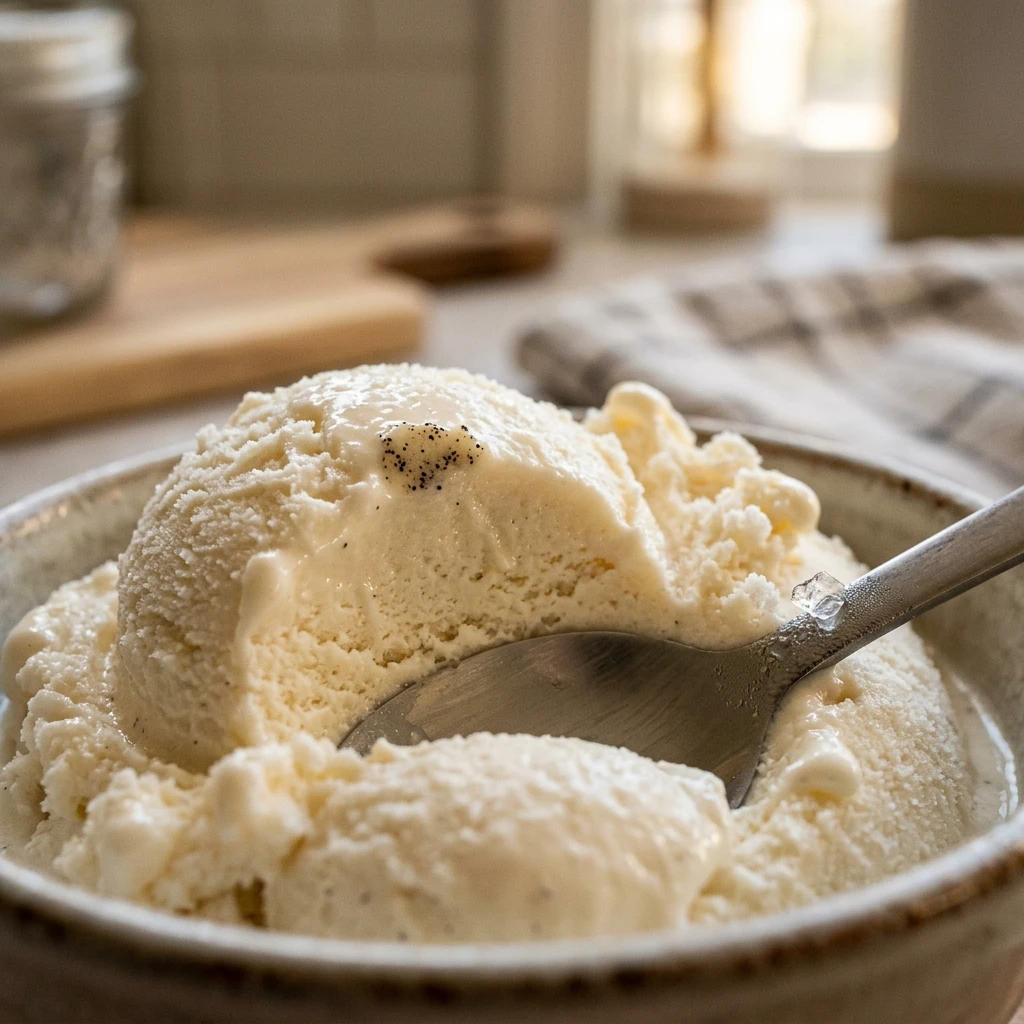
The best way to serve this cherry pie is at room temperature or slightly warm. A generous scoop of vanilla bean ice cream is the classic “à la mode” choice, as the cold creaminess complements the tart fruit perfectly. You could also serve it with a dollop of homemade whipped cream or a thin slice of sharp cheddar cheese for a traditional pairing.
How to Store cherry pie recipe
You can store this cherry pie at room temperature for up to two days if it is covered loosely with foil or plastic wrap. For longer storage, keep it in the refrigerator for up to five days. If you want to freeze the pie, wrap it tightly in plastic wrap and then aluminum foil; it will stay fresh in the freezer for up to three months.
Expert Tips for Perfect cherry pie recipe
To avoid a “soggy bottom,” try baking the pie on the lowest rack of the oven for the first 20 minutes. If you are using frozen cherries, do not thaw them first; just mix them with the other ingredients and add about 5-10 minutes to the total baking time. Always make sure your filling is bubbling before taking it out of the oven, as that is the signal that the cornstarch has reached its full thickening power.
Delicious Variations
If you want to change things up, try a “Cherry Berry” pie by replacing two cups of cherries with fresh blueberries or raspberries. For a crunchy texture, replace the top crust with a crumble topping made of flour, oats, brown sugar, and butter. You can also add a pinch of cinnamon or cardamom to the filling for a warm, spiced flavor profile.
Frequently Asked Questions
Q: Can I use sweet cherries instead of tart cherries?
Yes, you can use sweet cherries like Bing cherries, but you should reduce the sugar in the recipe to 1/2 or 3/4 cup and add an extra teaspoon of lemon juice to balance the sweetness.
Q: Why is my pie filling too runny?
This usually happens if the pie hasn’t cooled long enough or if the filling didn’t reach a high enough temperature to activate the cornstarch. Make sure the filling is bubbling in the center before removing it from the oven.
Q: Do I need to peel the cherries?
No, cherries do not need to be peeled, but they must be pitted. Investing in a cherry pitter tool will make this process much faster and cleaner.
Q: Can I use store-bought canned cherry pie filling?
This recipe is designed for plain cherries. Canned pie filling already has sugar and thickeners added, so it would be too sweet and thick if used with these exact instructions.
Q: How do I prevent the crust edges from burning?
If you notice the edges of the crust are browning too quickly, cover them with a pie shield or a ring of aluminum foil halfway through the baking process.
Conclusion
Baking a cherry pie from scratch is a labor of love that pays off with the very first bite. With its flaky crust and perfectly balanced filling, this cherry pie recipe is sure to become a staple in your kitchen. Whether it is a summer celebration or a cozy winter dessert, this pie brings a touch of homemade comfort to any table. Happy baking!
cherry pie recipe
- Total Time: 1 hour 20 minutes
Ingredients
- 2 chilled pie crusts (homemade or store-bought)
- 5 cups pitted tart cherries (fresh, frozen, or canned)
- 1 cup granulated white sugar
- 1/4 cup cornstarch
- 1 tablespoon lemon juice
- 1/2 teaspoon almond extract
- 1 tablespoon unsalted butter, cut into small pieces
- 1 large egg, beaten (for egg wash)
- 1 tablespoon coarse sugar (for topping)
Instructions
- Step 1: Preheat and Prepare: Preheat your oven to 400°F (200°C). Roll out one of the chilled pie crusts and fit it into a 9-inch pie plate. Trim the edges, leaving a small overhang, and place it back in the refrigerator while you prepare the filling.
- Step 2: Mix the Cherry Filling: In a large mixing bowl, combine the pitted cherries, granulated sugar, cornstarch, lemon juice, and almond extract. Toss everything together gently until the cherries are evenly coated and the cornstarch has dissolved into the juices.
- Step 3: Fill the Pie: Pour the cherry mixture into the prepared bottom crust. Use a spatula to spread the cherries evenly. Take the small pieces of butter and dot them across the top of the cherry filling to add richness and shine.
- Step 4: Create the Top Crust: Roll out the second pie crust. You can place it whole over the top and cut slits for steam, or cut it into strips to create a lattice weave. Seal the edges of the top and bottom crusts together by crimping them with your fingers or a fork.
- Step 5: Apply Egg Wash: Brush the top crust lightly with the beaten egg wash. This helps the pie achieve a beautiful golden-brown color. Sprinkle the coarse sugar over the top for an extra crunch and a professional finish.
- Step 6: Bake to Perfection: Place the pie on a baking sheet to catch any drips. Bake at 400°F for 20 minutes, then reduce the heat to 375°F (190°C) and bake for another 30 to 35 minutes. The crust should be golden and the filling should be bubbling in the center.
- Step 7: Cool Completely: Allow the pie to cool on a wire rack for at least 3 to 4 hours. Cooling is essential because it allows the cornstarch to set, ensuring the filling doesn’t run when you cut into it.
- Cook Time: 80 minutes
- Diet: Vegetarian