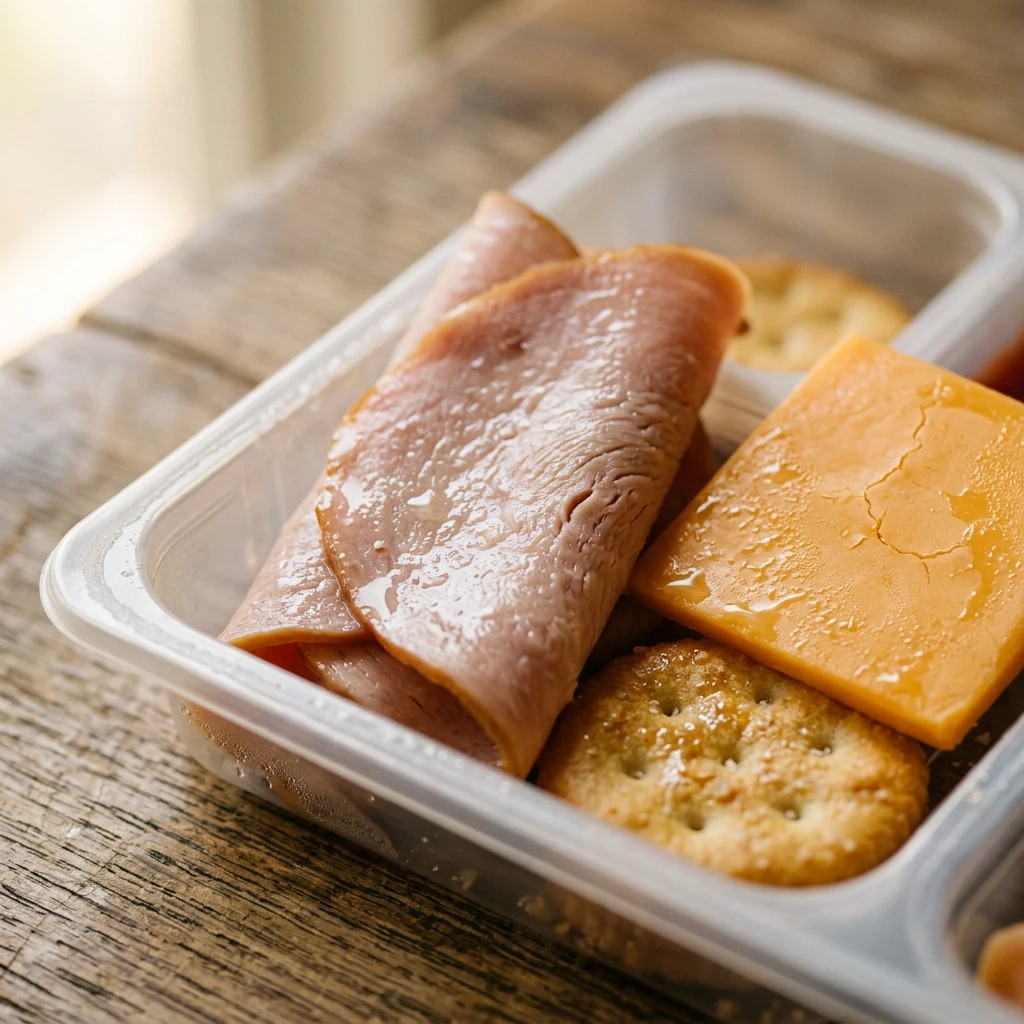

Ditch the processed store-bought kits and embrace the homemade Turkey Ham Cheese Lunchable Box. This DIY version is not only more affordable but also much healthier for kids and adults alike. It provides the perfect balance of protein, fats, and carbohydrates to keep your energy levels steady throughout the afternoon.
Creating your own snack box allows you to control the quality of the ingredients, from the type of deli meat to the crispness of the crackers. Whether you are packing for school, a busy workday, or a weekend road trip, this lunchable box is the ultimate grab-and-go solution that everyone loves.
Recipe Information
- Prep Time: 10 minutes
- Cook Time: 0 minutes
- Total Time: 10 minutes
- Servings: 1
- Difficulty Level: Easy
Nutrition Information
- Calories per serving: 345 kcal
- Protein: 22g
- Carbohydrates: 28g
- Fat: 16g
- Fiber: 4g
- Sugar: 6g
- Sodium: 890mg
Why Make This Turkey Ham Cheese Lunchable Box
The primary reason to make this Turkey Ham Cheese Lunchable Box is customization. You can choose high-quality deli meats without nitrates and select your favorite sharp cheddar or mild provolone. It is a budget-friendly way to meal prep for the week without sacrificing taste or nutrition.
Additionally, these boxes are perfect for picky eaters. By separating the ingredients into compartments, you ensure that nothing gets soggy and the flavors stay distinct. It is a visually appealing meal that encourages kids to eat their protein and vegetables while feeling like they are having a treat.
How to Make Turkey Ham Cheese Lunchable Box
Assembling this lunch box is incredibly simple and requires no actual cooking. The process focuses on choosing fresh ingredients and arranging them in a way that keeps the textures perfect until lunchtime.
Ingredients
- 4 slices of high-quality deli turkey breast
- 4 slices of deli ham
- 2 ounces of cheddar cheese (sliced or cubed)
- 10-12 whole grain crackers
- 1/2 cup of fresh grapes or apple slices
- 5-6 baby carrots or cucumber slices
- 1 small piece of dark chocolate (optional treat)
Directions
Step 1: Prepare the Meat
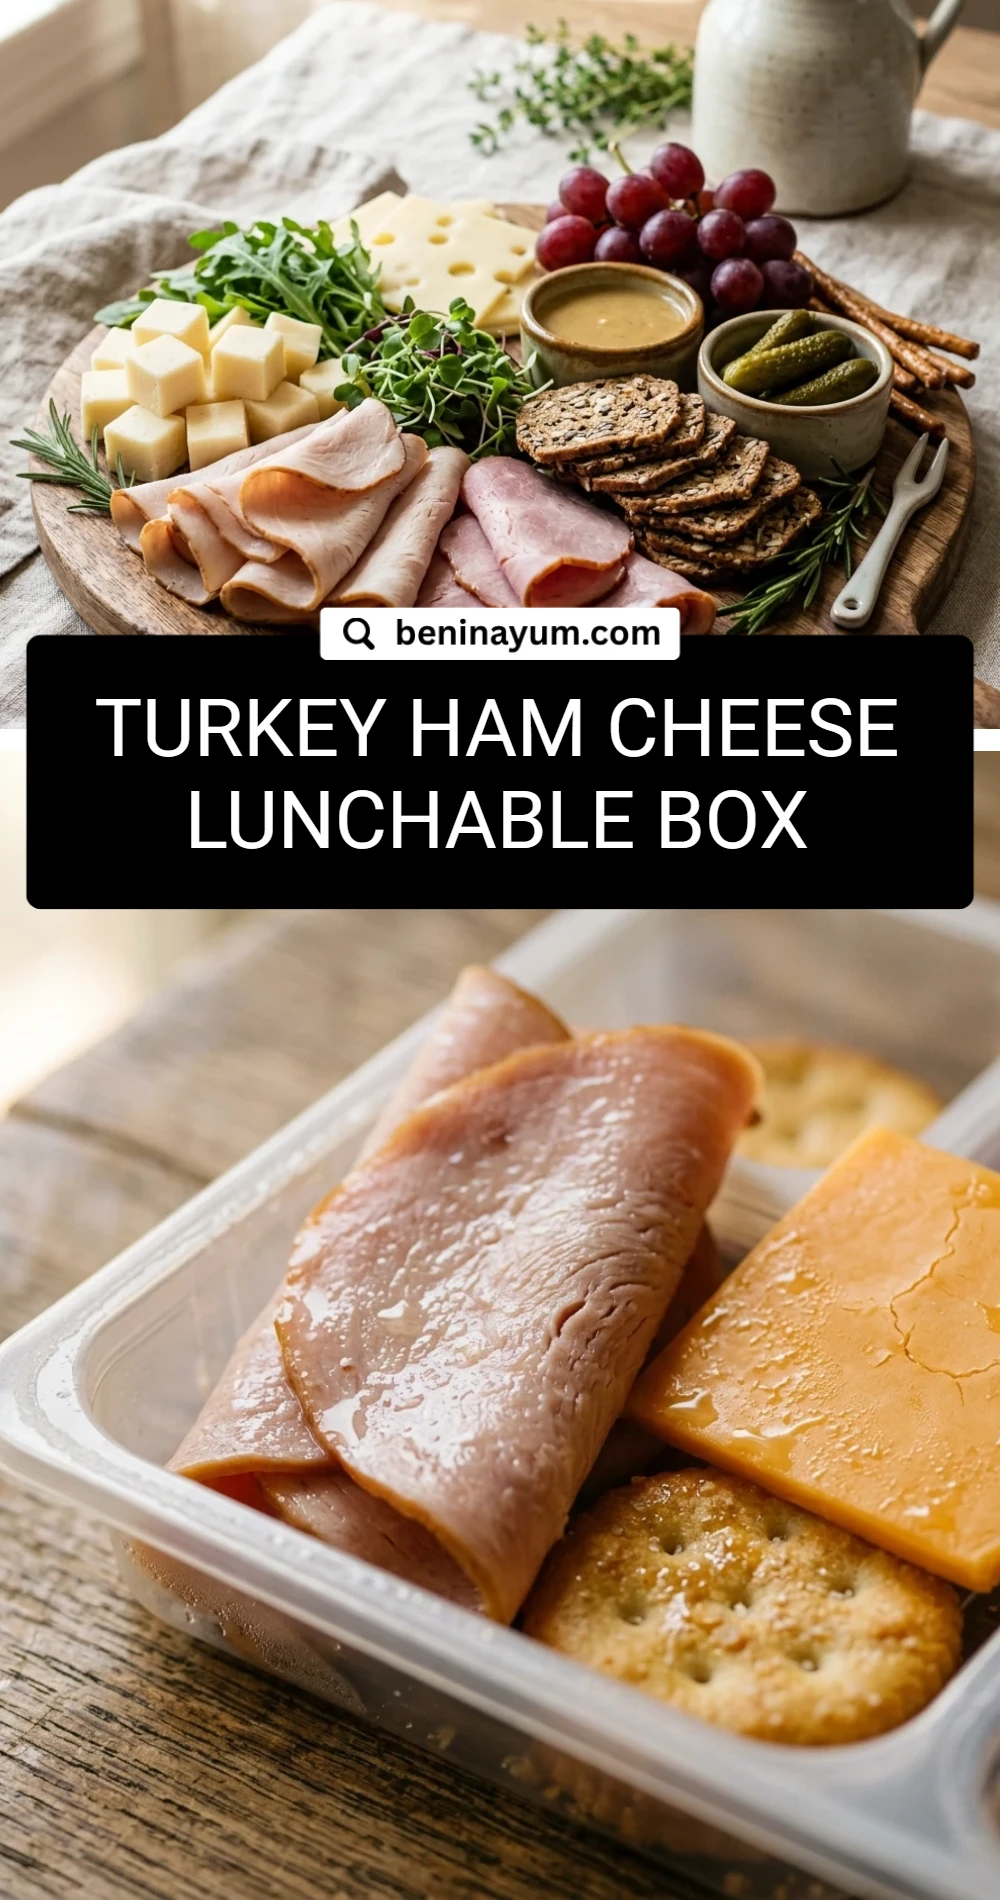
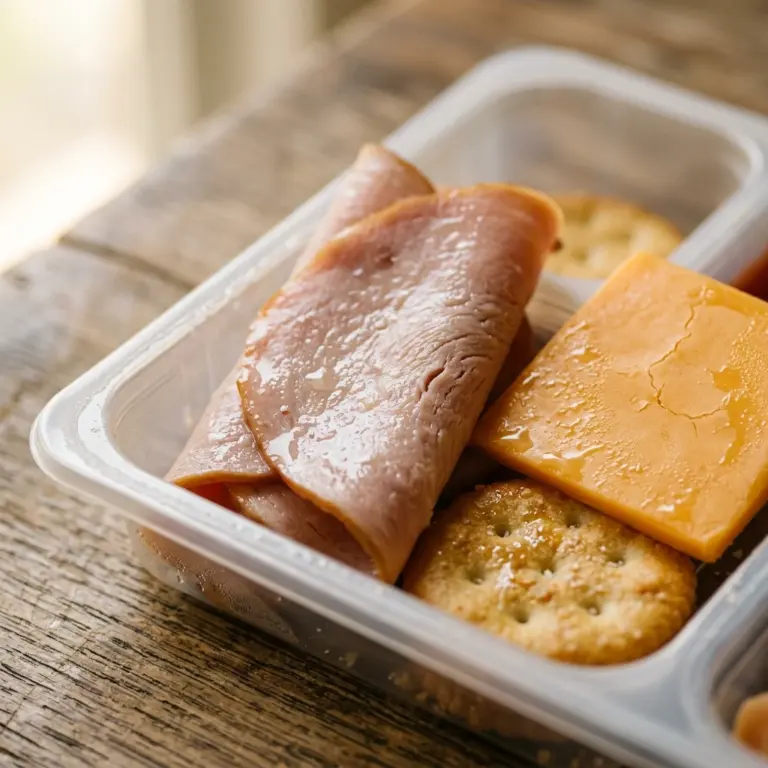
Take your deli turkey and ham slices. You can either roll them up tightly or fold them into small squares so they fit perfectly into your container’s compartment. If the slices are very large, cut them in half before rolling.
Step 2: Slice the Cheese
If you have a block of cheese, slice it into small squares that match the size of your crackers. If you are using pre-sliced cheese, use a small cookie cutter or a knife to create bite-sized portions that are easy for little hands to stack.
Step 3: Prepare the Produce
Wash the grapes and carrots thoroughly. Pat them dry with a paper towel. It is important that the produce is dry so it doesn’t transfer moisture to the crackers, which could make them lose their crunch.
Step 4: Assemble the Box
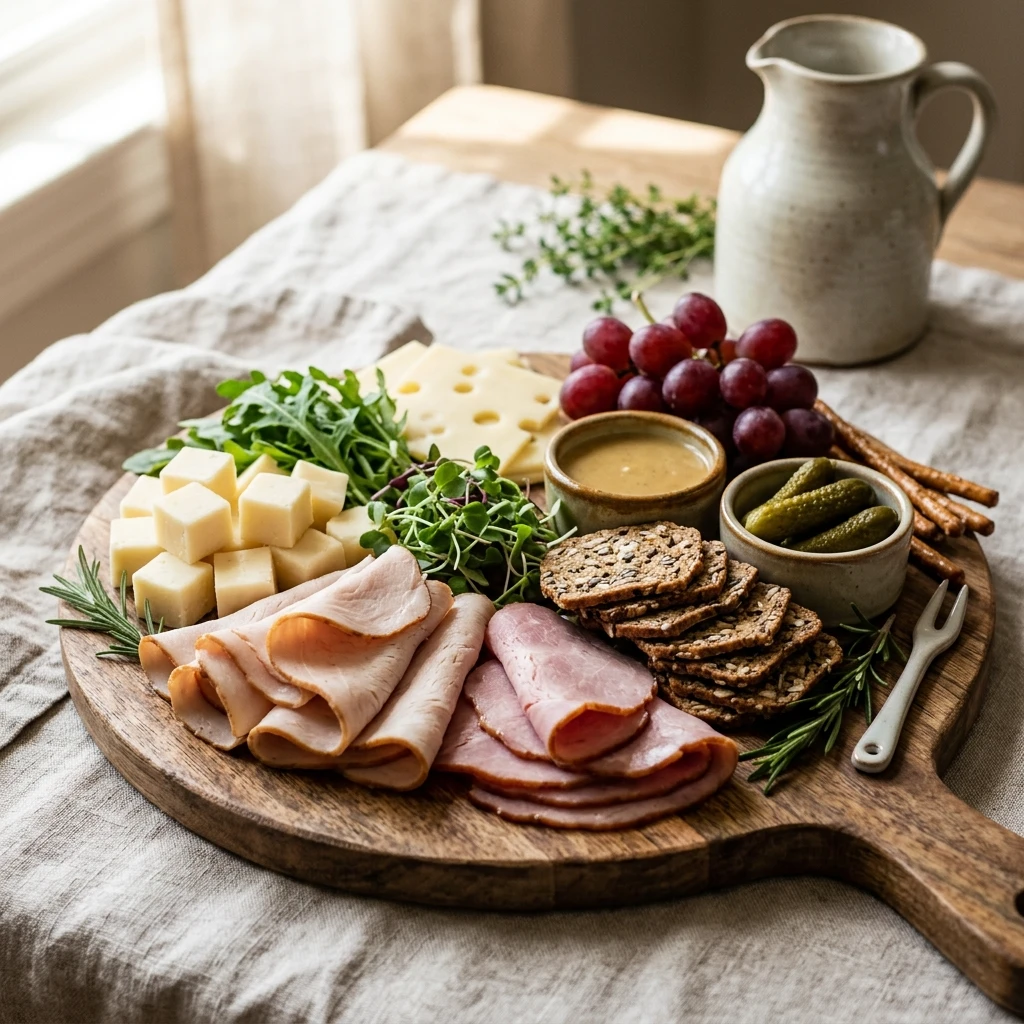
Place the turkey and ham in one section of your bento box. Put the crackers in a separate section to keep them dry. Add the cheese, fruit, and vegetables into the remaining compartments. If your box doesn’t have dividers, you can use silicone cupcake liners to create separate zones.
Step 5: Final Touch
Add your optional treat, like a piece of dark chocolate or a few almonds, in a small corner. Close the lid tightly and store it in the refrigerator until you are ready to leave.
How to Serve Turkey Ham Cheese Lunchable Box
Serve this box chilled directly from the refrigerator. For the best experience, you can provide a small container of mustard or mayo on the side for dipping the meat. If you are eating this on the go, ensure you have a napkin and perhaps a small reusable fork for the fruit, although this is designed to be a finger-food meal.
How to Store Turkey Ham Cheese Lunchable Box
Store the assembled boxes in an airtight container in the refrigerator. They will stay fresh for up to 3 to 4 days. If you are using fruit that browns easily, like apples, wait to slice them until the morning you plan to eat the lunch, or toss them in a little lemon juice first.
Expert Tips for Perfect Turkey Ham Cheese Lunchable Box
To keep your crackers extra crispy, you can wrap them in a small reusable beeswax wrap or a plastic baggie before placing them in the box. This provides an extra barrier against any humidity in the fridge. Also, always use a bento-style box with a tight seal to prevent the flavors of the ham from migrating to the fruit.
Delicious Variations
You can easily switch up the flavors by using pepper jack cheese for a spicy kick or swap the turkey for roast beef. For a gluten-free version, use nut-based crackers or cucumber slices as the “base” for your meat and cheese stacks. You can also replace the grapes with berries or dried cranberries for a different fruit profile.
Frequently Asked Questions
Q: How do I prevent the crackers from getting soggy?
The best way to prevent sogginess is to ensure your fruits and vegetables are completely dry before packing. Using a container with separate compartments or silicone liners also helps keep moisture away from the crackers.
Q: Can I make these a week in advance?
It is best to make them only 3-4 days in advance to ensure the meat stays fresh and the vegetables remain crisp. Crackers may lose their crunch if stored longer than 4 days in the fridge.
Q: Is this recipe healthy for weight loss?
Yes, this is a great portion-controlled meal. To make it even leaner, focus on using more turkey and extra vegetables while reducing the amount of cheese and crackers.
Q: What are the best crackers to use?
Whole grain or multi-seed crackers are excellent because they offer more fiber and keep you full longer than standard white flour crackers.
Q: Can I add dips to the box?
Absolutely! Hummus, ranch dressing, or honey mustard are great additions. Just make sure to put them in a leak-proof mini container within the box.
Conclusion
Making your own Turkey Ham Cheese Lunchable Box is a simple way to take control of your lunchtime nutrition. It is fast, easy, and much more satisfying than the pre-packaged alternatives. Give this recipe a try this week and enjoy a fresh, delicious, and convenient meal that fits perfectly into your busy lifestyle!
Turkey Ham Cheese Lunchable Box
- Total Time: 10 minutes
Ingredients
- 4 slices of high-quality deli turkey breast
- 4 slices of deli ham
- 2 ounces of cheddar cheese (sliced or cubed)
- 10–12 whole grain crackers
- 1/2 cup of fresh grapes or apple slices
- 5–6 baby carrots or cucumber slices
- 1 small piece of dark chocolate (optional treat)
Instructions
- Take your deli turkey and ham slices. You can either roll them up tightly or fold them into small squares so they fit perfectly into your container’s compartment. If the slices are very large, cut them in half before rolling.
- If you have a block of cheese, slice it into small squares that match the size of your crackers. If you are using pre-sliced cheese, use a small cookie cutter or a knife to create bite-sized portions that are easy for little hands to stack.
- Wash the grapes and carrots thoroughly. Pat them dry with a paper towel. It is important that the produce is dry so it doesn’t transfer moisture to the crackers, which could make them lose their crunch.
- Place the turkey and ham in one section of your bento box. Put the crackers in a separate section to keep them dry. Add the cheese, fruit, and vegetables into the remaining compartments. If your box doesn’t have dividers, you can use silicone cupcake liners to create separate zones.
- Add your optional treat, like a piece of dark chocolate or a few almonds, in a small corner. Close the lid tightly and store it in the refrigerator until you are ready to leave.
- Cook Time: 10 minutes
- Diet: High-Protein, Gluten-Free (Optional Variation)