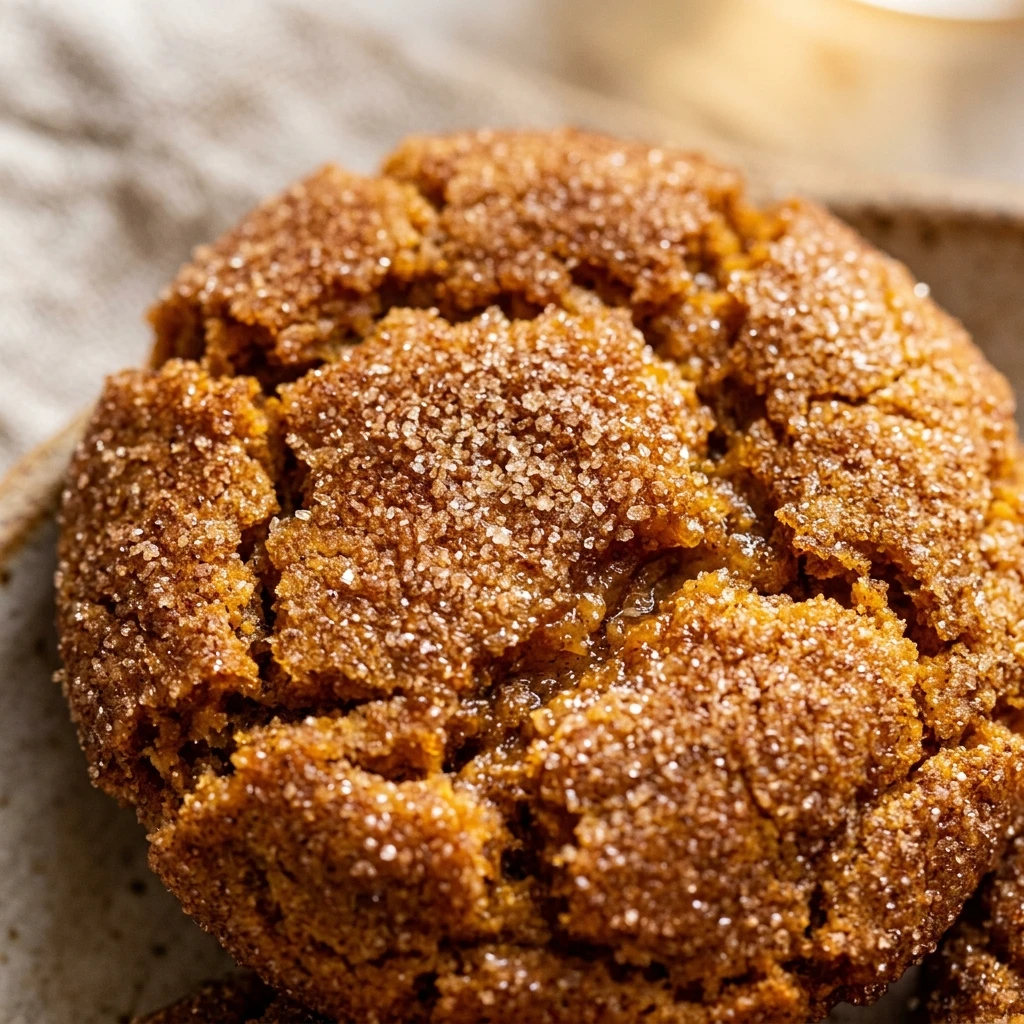

Imagine the aroma of nutty browned butter mixing with the cozy scent of cinnamon and pumpkin. These Brown Butter Pumpkin Snickerdoodles are the ultimate autumn treat. They take the classic tangy snickerdoodle and elevate it with deep, caramelized flavors and a soft, pillowy texture that stays moist for days.
Whether you are hosting a fall gathering or just want a sweet snack to enjoy with your coffee, these cookies are a guaranteed hit. The combination of the toasted butter and real pumpkin puree creates a sophisticated flavor profile that is far superior to a standard cookie. Get ready to meet your new favorite seasonal bake.
Recipe Information
- Prep Time: 20 minutes
- Cook Time: 10 minutes
- Total Time: 1 hour 30 minutes
- Servings: 24 cookies
- Difficulty Level: Medium
Nutrition Information
- Calories per serving: 175 kcal
- Protein: 2g
- Carbohydrates: 24g
- Fat: 8g
- Fiber: 1g
- Sugar: 14g
- Sodium: 115mg
Why Make This Brown Butter Pumpkin Snickerdoodles
The magic of this recipe lies in the brown butter. By simmering the butter until the milk solids toast, you unlock a rich, nutty essence that complements the earthy sweetness of the pumpkin. Unlike traditional snickerdoodles which can sometimes be a bit one-note, these cookies offer a complex depth of flavor that feels truly artisanal.
Another reason to love these cookies is their incredible texture. Pumpkin naturally adds moisture, resulting in a cookie that is soft, cake-like, and tender. When you roll that dough in a sparkly coating of cinnamon sugar, you get a slight crunch on the outside that gives way to a melt-in-your-mouth interior. They are essentially autumn in cookie form.
How to Make Brown Butter Pumpkin Snickerdoodles
Creating these gourmet cookies is a rewarding process that involves a few special techniques to ensure the best texture and flavor. Follow these steps carefully to achieve that perfect pumpkin spice balance.
Ingredients
- 1 cup (226g) unsalted butter
- 1/2 cup (100g) granulated sugar
- 3/4 cup (150g) packed light brown sugar
- 1/3 cup (80g) pumpkin puree (blotted dry)
- 1 large egg yolk
- 1 teaspoon pure vanilla extract
- 2 1/3 cups (290g) all-purpose flour
- 1 teaspoon cream of tartar
- 1/2 teaspoon baking soda
- 1/2 teaspoon salt
- 1 1/2 teaspoons pumpkin pie spice
- For the coating: 1/4 cup granulated sugar mixed with 1 tablespoon ground cinnamon
Directions
Step 1: Brown the Butter
In a small saucepan over medium heat, melt the butter. Continue cooking, whisking constantly, until the butter begins to foam and brown bits form at the bottom. Once it smells nutty and looks amber-colored, remove from heat and pour into a large bowl. Let it cool for at least 20 minutes.
Step 2: Blot the Pumpkin Puree
Pumpkin contains a lot of moisture which can make cookies too cakey. Spread your pumpkin puree onto a few layers of paper towels. Press another paper towel on top to soak up the excess liquid until the puree looks thick and concentrated. You should be left with about 1/4 cup of “concentrated” pumpkin.
Step 3: Combine Wet Ingredients
Add the granulated sugar and brown sugar to the cooled brown butter. Whisk until smooth. Mix in the blotted pumpkin puree, egg yolk, and vanilla extract until fully incorporated and creamy.
Step 4: Mix Dry Ingredients
In a separate medium bowl, whisk together the flour, cream of tartar, baking soda, salt, and pumpkin pie spice. Gradually add the dry ingredients to the wet ingredients, stirring with a spatula until just combined. Do not overmix.
Step 5: Chill the Cookie Dough
Cover the dough and refrigerate for at least 1 hour (or up to 48 hours). Chilling is essential because the dough is soft; it helps the flavors develop and prevents the cookies from spreading too much in the oven.
Step 6: Shape and Coat
Preheat your oven to 350°F (175°C) and line baking sheets with parchment paper. Scoop about 1.5 tablespoons of dough and roll into balls. Roll each ball generously in the cinnamon-sugar mixture until fully coated.
Step 7: Bake to Perfection
Place the balls on the baking sheets about 2 inches apart. Bake for 10-11 minutes. The edges should be set, but the centers should still look slightly soft. Let them cool on the pan for 5 minutes before transferring to a wire rack.
How to Serve Brown Butter Pumpkin Snickerdoodles
These cookies are best served slightly warm when the cinnamon sugar is still crisp. They pair beautifully with a hot mug of apple cider or a pumpkin spice latte. For a decadent dessert, use two cookies to make an ice cream sandwich with vanilla or salted caramel gelato.
How to Store Brown Butter Pumpkin Snickerdoodles
Store your cookies in an airtight container at room temperature for up to 5 days. To keep them extra soft, you can place a piece of white bread in the container to maintain moisture. You can also freeze the baked cookies for up to 3 months; just thaw them at room temperature before serving.
Expert Tips for Perfect Brown Butter Pumpkin Snickerdoodles
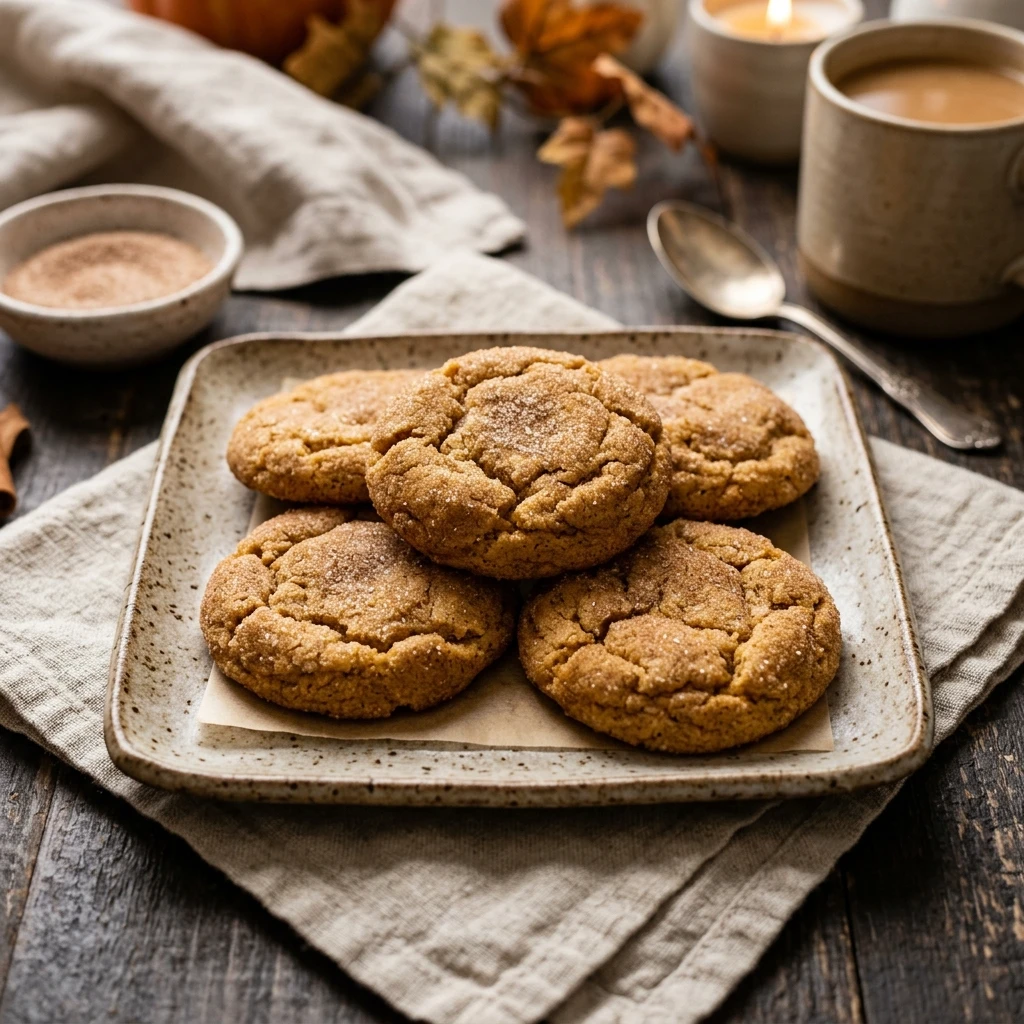
The most important tip is not to skip the blotting of the pumpkin. Removing that extra water ensures the cookies have a chewy, fudgy bite rather than a spongy, bread-like texture. Also, make sure your brown butter has cooled down; if it is too hot when you add the sugars, it can change the texture of the dough. Finally, use fresh cream of tartar to ensure that classic snickerdoodle tang and lift.
Delicious Variations
If you want to add a bit of texture, try folding in 1/2 cup of white chocolate chips or chopped pecans. For a more intense spice profile, add a pinch of ground ginger or cloves to the cinnamon-sugar coating. You can also make a quick maple glaze to drizzle over the tops once they have cooled for an extra layer of fall flavor.
Frequently Asked Questions
Q: Why did my cookies turn out flat?
This usually happens if the butter was too hot when mixed or if the dough wasn’t chilled long enough. Make sure to follow the chilling time strictly.
Q: Can I use pumpkin pie filling instead of puree?
No, pumpkin pie filling has added sugar and spices that will throw off the balance of the recipe. Always use 100% pure pumpkin puree.
Q: Do I really need cream of tartar?
Yes! Cream of tartar is what gives a snickerdoodle its signature tang and unique chewy texture. Without it, it’s just a pumpkin spice sugar cookie.
Q: How do I know when the butter is browned?
Watch for the foam to subside and look for little brown specks at the bottom of the pan. It should smell very toasted and nutty, like hazelnuts.
Q: Can I make the dough in advance?
Absolutely. You can keep the dough in the fridge for up to 2 days. Just let it sit out for 10 minutes before rolling if it becomes too hard to scoop.
Conclusion
Brown Butter Pumpkin Snickerdoodles are the ultimate way to celebrate the season. By taking the time to brown the butter and blot the pumpkin, you create a cookie that is rich, aromatic, and perfectly textured. Give this recipe a try, and you will see why it’s a favorite for bakers everywhere. Happy baking!
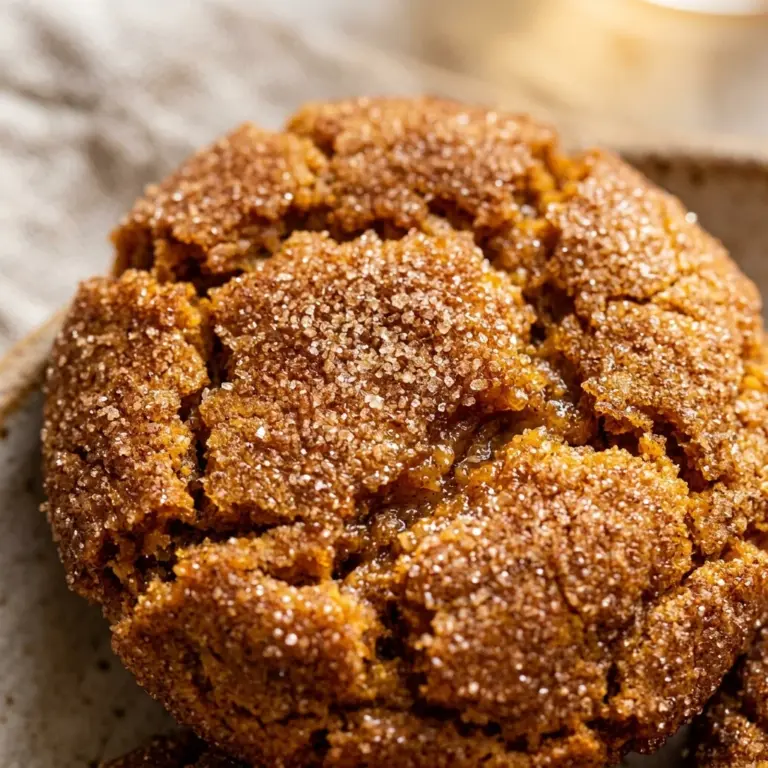
Brown Butter Pumpkin Snickerdoodles
- Total Time: 1 hour 30 minutes
Ingredients
- 1 cup (226g) unsalted butter
- 1/2 cup (100g) granulated sugar
- 3/4 cup (150g) packed light brown sugar
- 1/3 cup (80g) pumpkin puree (blotted dry)
- 1 large egg yolk
- 1 teaspoon pure vanilla extract
- 2 1/3 cups (290g) all-purpose flour
- 1 teaspoon cream of tartar
- 1/2 teaspoon baking soda
- 1/2 teaspoon salt
- 1 1/2 teaspoons pumpkin pie spice
- For the coating: 1/4 cup granulated sugar mixed with 1 tablespoon ground cinnamon
Instructions
- Step 1: Brown the Butter In a small saucepan over medium heat, melt the butter. Continue cooking, whisking constantly, until the butter begins to foam and brown bits form at the bottom. Once it smells nutty and looks amber-colored, remove from heat and pour into a large bowl. Let it cool for at least 20 minutes.
- Step 2: Blot the Pumpkin Puree Pumpkin contains a lot of moisture which can make cookies too cakey. Spread your pumpkin puree onto a few layers of paper towels. Press another paper towel on top to soak up the excess liquid until the puree looks thick and concentrated. You should be left with about 1/4 cup of “concentrated” pumpkin.
- Step 3: Combine Wet Ingredients Add the granulated sugar and brown sugar to the cooled brown butter. Whisk until smooth. Mix in the blotted pumpkin puree, egg yolk, and vanilla extract until fully incorporated and creamy.
- Step 4: Mix Dry Ingredients In a separate medium bowl, whisk together the flour, cream of tartar, baking soda, salt, and pumpkin pie spice. Gradually add the dry ingredients to the wet ingredients, stirring with a spatula until just combined. Do not overmix.
- Step 5: Chill the Cookie Dough Cover the dough and refrigerate for at least 1 hour (or up to 48 hours). Chilling is essential because the dough is soft; it helps the flavors develop and prevents the cookies from spreading too much in the oven.
- Step 6: Shape and Coat Preheat your oven to 350°F (175°C) and line baking sheets with parchment paper. Scoop about 1.5 tablespoons of dough and roll into balls. Roll each ball generously in the cinnamon-sugar mixture until fully coated.
- Step 7: Bake to Perfection Place the balls on the baking sheets about 2 inches apart. Bake for 10-11 minutes. The edges should be set, but the centers should still look slightly soft. Let them cool on the pan for 5 minutes before transferring to a wire rack.
- Cook Time: 1 hour 30 minutes
- Diet: Vegetarian