
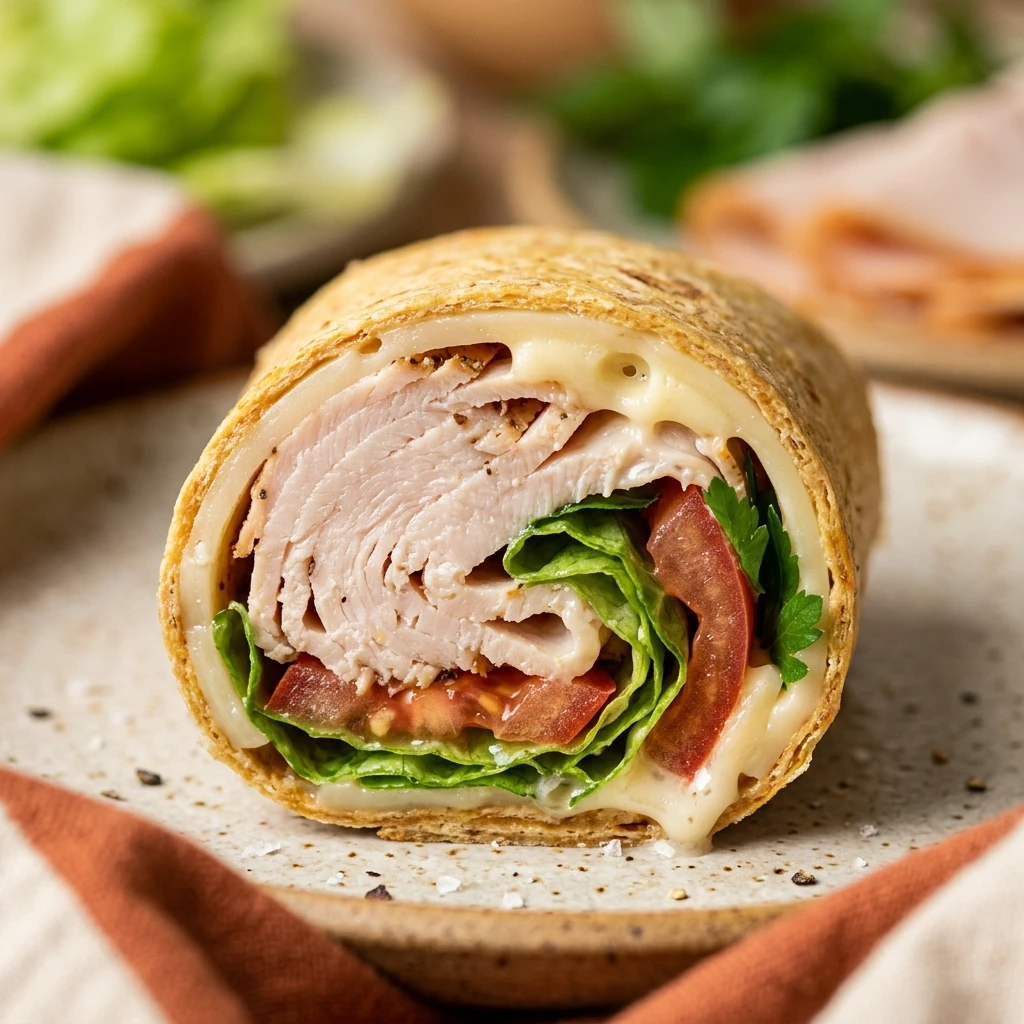

Looking for a quick snack or a light lunch that doesn’t require any cooking? These 5-minute turkey cheese roll ups are the perfect solution. Whether you are rushing through a busy workday or need a protein-packed snack for the kids after school, this recipe is incredibly versatile and satisfying.
By skipping the bread, you get a fresh, crunchy, and savory bite that fits into almost any diet. These roll ups are especially popular for those following low-carb or keto lifestyles, but they are delicious enough for everyone to enjoy. Let’s get rolling with this simple, no-fuss recipe!
Recipe Information
- Prep Time: 5 minutes
- Cook Time: 0 minutes
- Total Time: 5 minutes
- Servings: 2 servings
- Difficulty Level: Easy
Nutrition Information
- Calories per serving: 185 kcal
- Protein: 18g
- Carbohydrates: 3g
- Fat: 11g
- Fiber: 0.5g
- Sugar: 1g
- Sodium: 680mg
Why Make This 5-Minute Turkey Cheese Roll Ups
This recipe is a game-changer for anyone who struggles with meal prep or finding healthy snacks on the go. Since it requires absolutely no heat, you can whip these up in a dorm room, an office breakroom, or even at a picnic. It is a fantastic way to get a good dose of protein without the heaviness of a traditional sandwich.
Additionally, turkey cheese roll ups are highly customizable. You can swap the greens, use different types of cheese, or add a spicy kick with some jalapeños. It is the ultimate “clean out the fridge” meal that tastes like a gourmet deli wrap but takes a fraction of the time to prepare.
How to Make 5-Minute Turkey Cheese Roll Ups
Making these roll ups is as simple as layering your favorite deli ingredients and rolling them into a tight, portable cylinder. Follow these easy steps for a perfect result every time.
Ingredients
- 6 slices high-quality deli turkey breast
- 3 slices Provolone or Swiss cheese (halved)
- 2 tablespoons cream cheese or Greek yogurt spread
- 1/2 cup fresh baby spinach or shredded lettuce
- 1 teaspoon Dijon mustard (optional)
- A pinch of cracked black pepper
Directions
Step 1: Prepare the Turkey Base
Lay out two or three slices of turkey on a clean cutting board or plate. Overlap them slightly to create a wider surface area. This ensures that your fillings stay tucked inside when you roll them up.
Step 2: Spread the Condiments
Take your cream cheese or Greek yogurt spread and apply a thin, even layer across the top surface of the turkey slices. If you like a bit of tang, dot the cream cheese with a small amount of Dijon mustard and sprinkle with black pepper.
Step 3: Layer the Cheese and Greens
Place a half-slice of cheese on each turkey portion. Top the cheese with a small handful of spinach or shredded lettuce. Keep the fillings concentrated toward one side to make the rolling process easier.
Step 4: Roll and Secure
Starting from the edge with the most fillings, tightly roll the turkey over the cheese and greens. Continue rolling until you reach the end. You can serve them whole or slice them into “sushi-style” rounds. Use a toothpick to secure them if you are packing them for later.
How to Serve 5-Minute Turkey Cheese Roll Ups
These roll ups are great on their own, but you can turn them into a full meal by serving them alongside a side of fresh berries, a handful of almonds, or some crunchy carrot sticks. If you are serving them at a party, arrange them on a platter with a small bowl of ranch dressing or honey mustard for dipping. They also pair wonderfully with a light vegetable soup or a simple garden salad.
How to Store 5-Minute Turkey Cheese Roll Ups
If you have leftovers, place them in an airtight container and store them in the refrigerator. They will stay fresh for up to 24 hours. To prevent them from getting soggy, you can place a piece of paper towel at the bottom of the container to absorb any moisture from the turkey or vegetables. It is best not to freeze these, as the texture of the fresh lettuce and deli meat will change significantly upon thawing.
Expert Tips for Perfect 5-Minute Turkey Cheese Roll Ups
To get the best results, always pat your deli meat dry with a paper towel before starting. This helps the cream cheese stick better and prevents the roll ups from sliding apart. If you want a bit more crunch, try adding a thin slice of cucumber or a strip of bell pepper in the center. Using high-quality, thinly sliced meat from the deli counter usually works better than pre-packaged thick-cut slices.
Delicious Variations
There are endless ways to vary this recipe. For a Mediterranean twist, use hummus instead of cream cheese and add a slice of roasted red pepper. If you love spice, add a dash of hot sauce or a thin slice of pepper jack cheese. For a “club” version, add a piece of crispy cooked bacon inside the roll. You can even swap the turkey for deli ham or roast beef for a completely different flavor profile.

Frequently Asked Questions
Q: Can I make these ahead of time for meal prep?
Yes, you can make them in the morning for lunch, but for the best texture, it is recommended to eat them within a few hours so the greens stay crisp.
Q: Are these roll ups gluten-free?
As long as your deli meat and cheese are certified gluten-free, this recipe is naturally gluten-free since it uses no bread or wraps.
Q: What is the best type of turkey to use?
Oven-roasted or smoked turkey breast provides the best flavor. Avoid honey-cured turkey if you are watching your sugar intake.
Q: Can I use mayo instead of cream cheese?
Absolutely! Mayo works well, though it is a bit thinner, so use it sparingly to avoid the roll ups becoming too messy.
Q: How do I keep them from unrolling in my lunchbox?
The best way is to use a toothpick to pin the seam shut, or pack them tightly into a small container so they don’t have room to move around.
Conclusion
The 5-minute turkey cheese roll up is a classic “hack” for healthy eating that never goes out of style. It’s fast, nutritious, and requires zero cooking skills. Next time you are tempted to grab a bag of chips or skip lunch altogether, try this recipe instead. It’s a delicious way to stay fueled and focused throughout your day!


5-Minute Turkey Cheese Roll Ups
- Total Time: 5 minutes
Ingredients
- 6 slices high-quality deli turkey breast
- 3 slices Provolone or Swiss cheese (halved)
- 2 tablespoons cream cheese or Greek yogurt spread
- 1/2 cup fresh baby spinach or shredded lettuce
- 1 teaspoon Dijon mustard (optional)
- A pinch of cracked black pepper
Instructions
- Step 1: Prepare the Turkey Base. Lay out two or three slices of turkey on a clean cutting board or plate. Overlap them slightly to create a wider surface area. This ensures that your fillings stay tucked inside when you roll them up.
- Step 2: Spread the Condiments. Take your cream cheese or Greek yogurt spread and apply a thin, even layer across the top surface of the turkey slices. If you like a bit of tang, dot the cream cheese with a small amount of Dijon mustard and sprinkle with black pepper.
- Step 3: Layer the Cheese and Greens. Place a half-slice of cheese on each turkey portion. Top the cheese with a small handful of spinach or shredded lettuce. Keep the fillings concentrated toward one side to make the rolling process easier.
- Step 4: Roll and Secure. Starting from the edge with the most fillings, tightly roll the turkey over the cheese and greens. Continue rolling until you reach the end. You can serve them whole or slice them into “sushi-style” rounds. Use a toothpick to secure them if you are packing them for later.
- Cook Time: 5 minutes
- Diet: Low-Carb, Keto, Gluten-Free