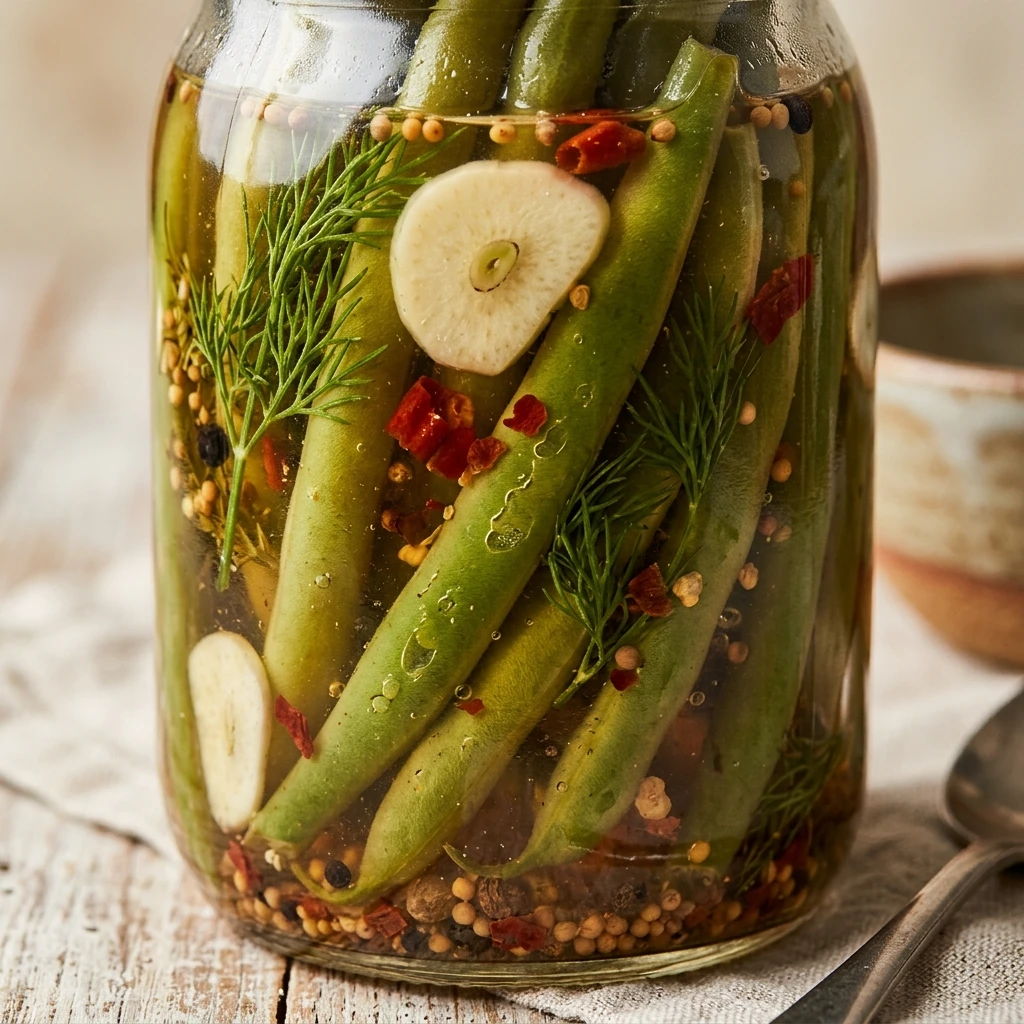

If you love a snack that packs a punch, Spicy Dilly Beans Pickles are about to become your new favorite pantry staple. These pickled green beans are incredibly crisp, tangy, and infused with just enough heat to keep things interesting. Whether you are looking for the perfect garnish for a weekend Bloody Mary or a crunchy side for your summer barbecue, these beans deliver a satisfying snap in every bite.
Making your own pickles at home is surprisingly simple and much more rewarding than buying store-bought versions. By using fresh garden beans and a handful of aromatic spices, you can create a preserve that captures the peak of summer produce. The combination of fresh dill and red pepper flakes creates a flavor profile that is both refreshing and invigorating.
Recipe Information
- Prep Time: 30 minutes
- Cook Time: 15 minutes
- Total Time: 45 minutes
- Servings: 4 pint-sized jars
- Difficulty Level: Easy
Nutrition Information
- Calories per serving: 25 kcal
- Protein: 1g
- Carbohydrates: 5g
- Fat: 0g
- Fiber: 2g
- Sugar: 2g
- Sodium: 380mg
Why Make This Spicy Dilly Beans Pickles
These pickles are the ultimate versatile snack. Unlike traditional cucumber pickles, green beans maintain a unique, firm texture even after the pickling process. This makes them perfect for those who prioritize a loud “crunch” when they eat. They are also a fantastic way to preserve a large harvest from your garden before the beans go soft.
The heat level is completely customizable, allowing you to tailor the spice to your preference. Beyond the flavor, these beans are low in calories and fat, making them a healthy alternative to processed snacks. Once you taste the brightness of the vinegar combined with the earthy dill and garlic, you will find yourself reaching for the jar every single day.
How to Make Spicy Dilly Beans Pickles
Preparing these pickles involves a simple brine-and-pack method that ensures the beans stay crisp and flavorful. Follow these steps to create a perfectly preserved batch of spicy dilly beans.
Ingredients
- 2 lbs fresh green beans, ends trimmed
- 4 cloves garlic, peeled and smashed
- 4 heads of fresh dill or 4 teaspoons dill seed
- 2 teaspoons red pepper flakes (adjust for heat)
- 1 teaspoon black peppercorns
- 2.5 cups white vinegar (5% acidity)
- 2.5 cups water
- 1/4 cup pickling salt
Directions
Step 1: Prepare the Jars and Beans
Wash four pint-sized canning jars and their lids in hot, soapy water. Rinse them thoroughly. Trim the ends of your green beans so they are about half an inch shorter than the height of the jar. This ensures they stay submerged in the brine.
Step 2: Create the Brine Solution
In a medium stainless steel saucepan, combine the white vinegar, water, and pickling salt. Bring the mixture to a rolling boil over medium-high heat, stirring occasionally until the salt is completely dissolved. Keep the brine simmering while you pack the jars.
Step 3: Pack the Aromatics
Into each clean jar, place one clove of garlic, one head of fresh dill (or one teaspoon of dill seed), half a teaspoon of red pepper flakes, and a few black peppercorns. Distributing the spices first ensures even flavoring for each jar.
Step 4: Fill Jars with Beans
Pack the green beans into the jars tightly in a vertical position. They should be snug but not crushed. Leave about half an inch of headspace at the top of the jar to allow for expansion and proper sealing.
Step 5: Add Brine and Seal
Carefully pour the hot brine over the beans in each jar, maintaining that half-inch of headspace. Run a clean utensil along the inside of the jars to remove any trapped air bubbles. Wipe the rims of the jars with a damp cloth, place the lids on top, and screw on the bands until they are fingertip tight.
Step 6: Processing for Storage
Place the jars in a boiling water canner and process for 10 minutes (adjust for altitude if necessary). Remove the jars and let them cool undisturbed for 24 hours. Check the seals to ensure they are concave and tight. If you prefer refrigerator pickles, simply skip the boiling water bath and store them directly in the fridge after they cool.
How to Serve Spicy Dilly Beans Pickles
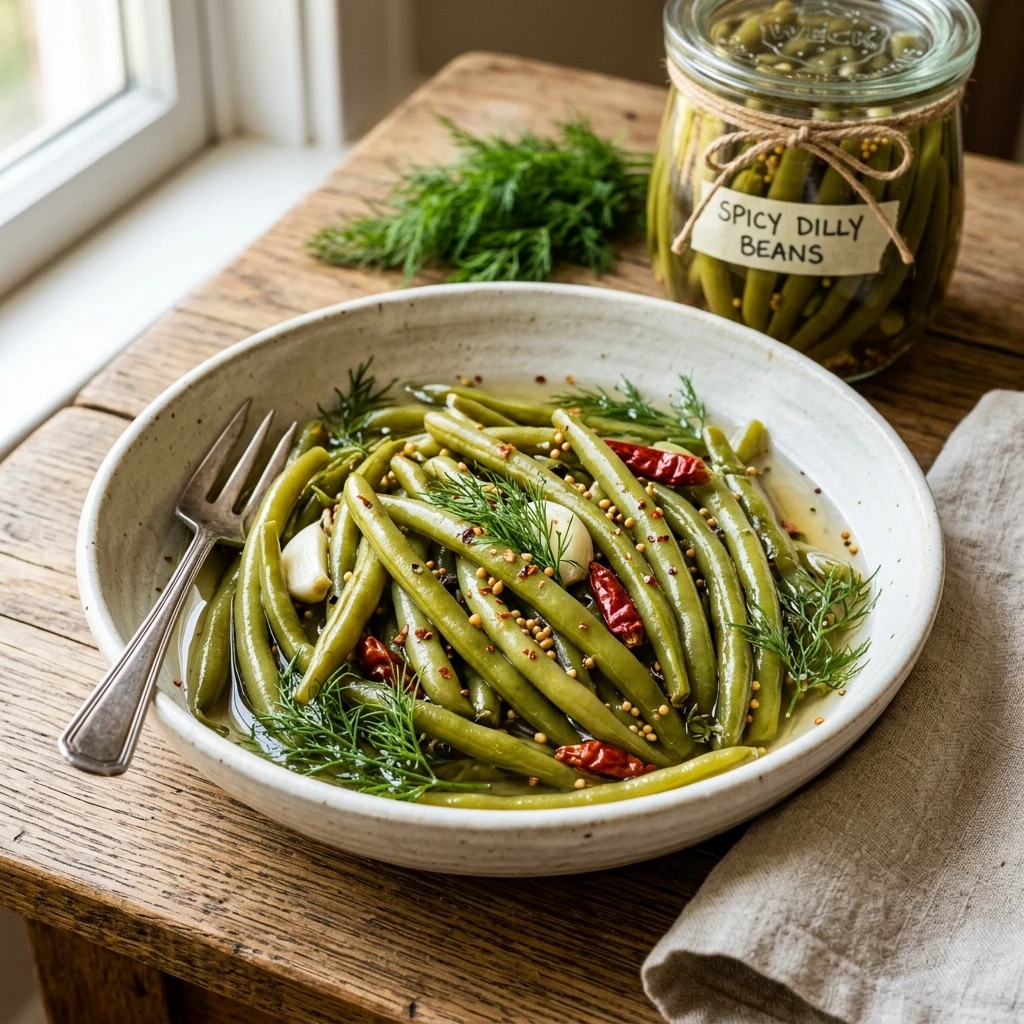
The most iconic way to serve these beans is as a garnish for a Spicy Bloody Mary. The vinegar and spice pair perfectly with the tomato juice and vodka. You can also add them to a charcuterie board alongside sharp cheeses, cured meats, and olives. They make a great side for sandwiches or burgers, providing a bright contrast to savory meats. For a quick snack, just eat them straight out of the jar!
How to Store Spicy Dilly Beans Pickles
If you processed your jars in a water bath, you can store them in a cool, dark place like a pantry for up to one year. Once a jar is opened, it must be kept in the refrigerator and consumed within 3 to 4 weeks. If you opted for the refrigerator-only method, keep them chilled from the start. For the best flavor development, wait at least two weeks before opening a jar to let the spices fully penetrate the beans.
Expert Tips for Perfect Spicy Dilly Beans Pickles
To get the crunchiest result, use beans that are as fresh as possible—ideally picked the same day. If your beans aren’t quite fresh, soak them in an ice-water bath for 30 minutes before packing. Always use pickling salt rather than table salt; table salt contains anti-caking agents that can make your brine look cloudy. Finally, make sure your vinegar has at least 5% acidity to ensure the pickles are safe for long-term storage.
Delicious Variations
If you want even more heat, add a slice of fresh habanero or jalapeño pepper to each jar. For a different flavor profile, try adding a teaspoon of mustard seeds or a slice of onion to the aromatics. If you enjoy a sweeter pickle, you can add a tablespoon of sugar to the brine. You can also experiment with different types of vinegar, such as apple cider vinegar, though it will slightly change the color and provide a fruitier undertone.
Frequently Asked Questions
Q: Can I use frozen green beans for this recipe?
No, frozen beans will become very mushy once thawed and pickled. It is highly recommended to use fresh, firm green beans for the best texture.
Q: How long should I wait before eating them?
While you can eat them after 24 hours, the flavor is significantly better if you let them “cure” in the jars for at least 2 weeks.
Q: Why did my garlic turn blue or green?
This is a common reaction between the enzymes in the garlic and the vinegar. It is perfectly safe to eat and does not affect the flavor of the pickles.
Q: Do I have to use a water bath canner?
Only if you want to store them at room temperature. If you have extra fridge space, you can skip the canning process and keep them as “fridge pickles.”
Q: Can I use dried dill instead of fresh?
Yes, you can use 1 teaspoon of dill seed or dried dill weed per jar if fresh dill is not available.
Conclusion
Spicy Dilly Beans Pickles are a wonderful way to enjoy the flavors of the garden all year round. With their addictive crunch and zesty heat, they are sure to be a hit at your next gathering. Whether you are a seasoned canner or a beginner looking for a fun kitchen project, this recipe is a reliable and delicious choice. Happy pickling!
Spicy Dilly Beans Pickles
- Total Time: 45 minutes
Ingredients
- 2 lbs fresh green beans, ends trimmed
- 4 cloves garlic, peeled and smashed
- 4 heads of fresh dill or 4 teaspoons dill seed
- 2 teaspoons red pepper flakes (adjust for heat)
- 1 teaspoon black peppercorns
- 2.5 cups white vinegar (5% acidity)
- 2.5 cups water
- 1/4 cup pickling salt
Instructions
- Wash four pint-sized canning jars and their lids in hot, soapy water. Rinse them thoroughly. Trim the ends of your green beans so they are about half an inch shorter than the height of the jar. This ensures they stay submerged in the brine.
- In a medium stainless steel saucepan, combine the white vinegar, water, and pickling salt. Bring the mixture to a rolling boil over medium-high heat, stirring occasionally until the salt is completely dissolved. Keep the brine simmering while you pack the jars.
- Into each clean jar, place one clove of garlic, one head of fresh dill (or one teaspoon of dill seed), half a teaspoon of red pepper flakes, and a few black peppercorns. Distributing the spices first ensures even flavoring for each jar.
- Pack the green beans into the jars tightly in a vertical position. They should be snug but not crushed. Leave about half an inch of headspace at the top of the jar to allow for expansion and proper sealing.
- Carefully pour the hot brine over the beans in each jar, maintaining that half-inch of headspace. Run a clean utensil along the inside of the jars to remove any trapped air bubbles. Wipe the rims of the jars with a damp cloth, place the lids on top, and screw on the bands until they are fingertip tight.
- Place the jars in a boiling water canner and process for 10 minutes (adjust for altitude if necessary). Remove the jars and let them cool undisturbed for 24 hours. Check the seals to ensure they are concave and tight. If you prefer refrigerator pickles, simply skip the boiling water bath and store them directly in the fridge after they cool.
- Cook Time: 45 minutes
- Diet: Vegetarian, Vegan, Gluten-Free, Low-Carb